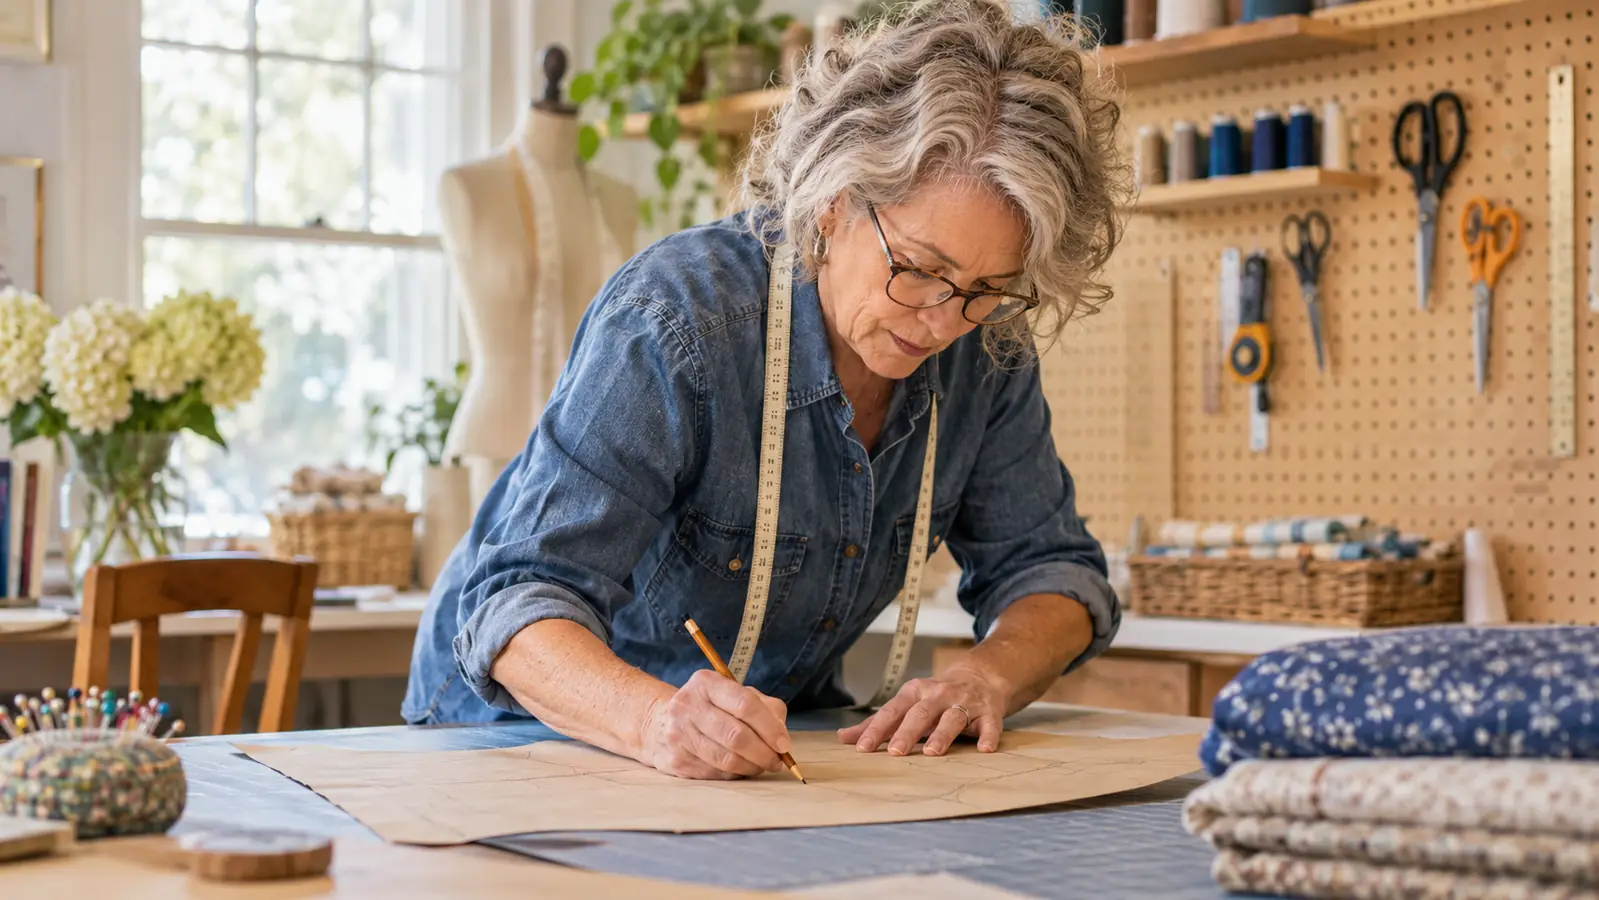
I spent my first twenty years of sewing redrawing the same three curves. The neckline that gaped at the back. The armhole that pulled forward whenever my daughter raised her arms. The seat seam that cupped in a way no amount of pressing would flatten. I blamed the pattern, then the fabric, then the machine. What I never blamed was the tool I was drawing with, which was a short wooden ruler and a hand that is not as steady as it was at thirty. The HLZC Imperial Sewing Ruler and French Curves set was the first purchase that admitted the problem was the equipment.
The set is six pieces: two 24 inch grading rulers, a universal ruler, a 12 inch curve ruler, a 24 inch hip curve ruler and a measuring gauge. All of it is plastic, all of it is marked in inches down to eighths, and the whole thing stores flat or hangs from the holes in the ends. I have drafted and altered with it for a season now, on everything from a lined wool skirt to a cotton nightdress for my granddaughter, and I have opinions. Ten of them, in the order I would hand them to you across the cutting table.
The curve you cannot draw freehand is the one that ruins the fit
Six plastic rulers, inch markings down to eighths, sized for full paper pattern pieces. This is the set that lives on my pegboard.
Amazon Check Today's Price on Amazon →A French curve gives you a neckline that lies flat against the body
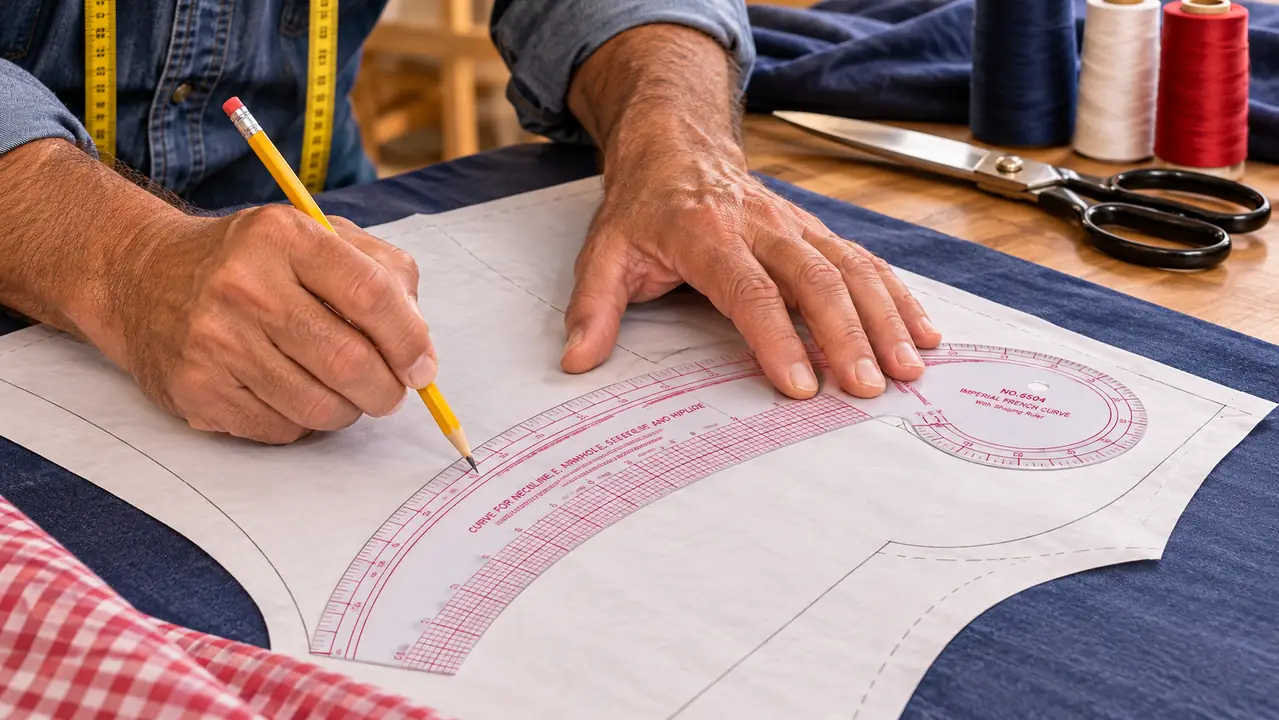
The neckline is the first thing anyone sees and the first place a wobbly line shows up. A French curve tightens and relaxes along its length, so you can start shallow at the shoulder and pull into a tighter arc at centre front without a kink. When I draw that freehand I get a shape that looks fine on paper and then stands away from the collarbone once the facing is turned. Drawing against a curve and checking the line before I cut has saved me more unpicking than any other habit. Four seconds of work, and it changes the whole garment.
The 24 inch hip curve is the piece that fixes seat and thigh shaping
The 24 inch hip curve earns its place on the seat seam, the crotch curve and the thigh shaping, where the line has to keep changing without a visible join. A shorter ruler forces you to splice two arcs together, and the splice always shows up as a flat spot in the finished trouser. My grown daughter is nearly six feet tall and I am five foot three, so I have drafted that seam at both ends of the size range. The longer curve keeps it continuous. It is the piece I would buy the set for on its own.
Grading rulers let you size a pattern up or down without redrawing it
Two 24 inch grading rulers come in the box, and they are what you reach for when a pattern is close but not close enough. Slash the paper where the fit is short, spread it by a measured amount, and true the seam line against the straight edge. Grading rules are their own subject and a ruler will not teach them to you, but it will give you a repeatable number instead of an eyeballed gap. I keep both flat under the cutting mat so I am not hunting for one when a waistband needs an extra half inch.
Eighth inch graduations match the allowances home patterns actually ask for
The HLZC set is graduated at one eighth of an inch, which happens to be the increment most home patterns are drafted at. Seam allowances of five eighths, three eighths and a quarter all land on a mark, so you are not splitting a sixteenth by eye at the machine. On dark fabric with a fine print I still reach for a lighter pencil, but the marks are legible, and legible marks mean I stop guessing where the stitching line goes.
You can see the fabric and the grain line through the plastic while you draw
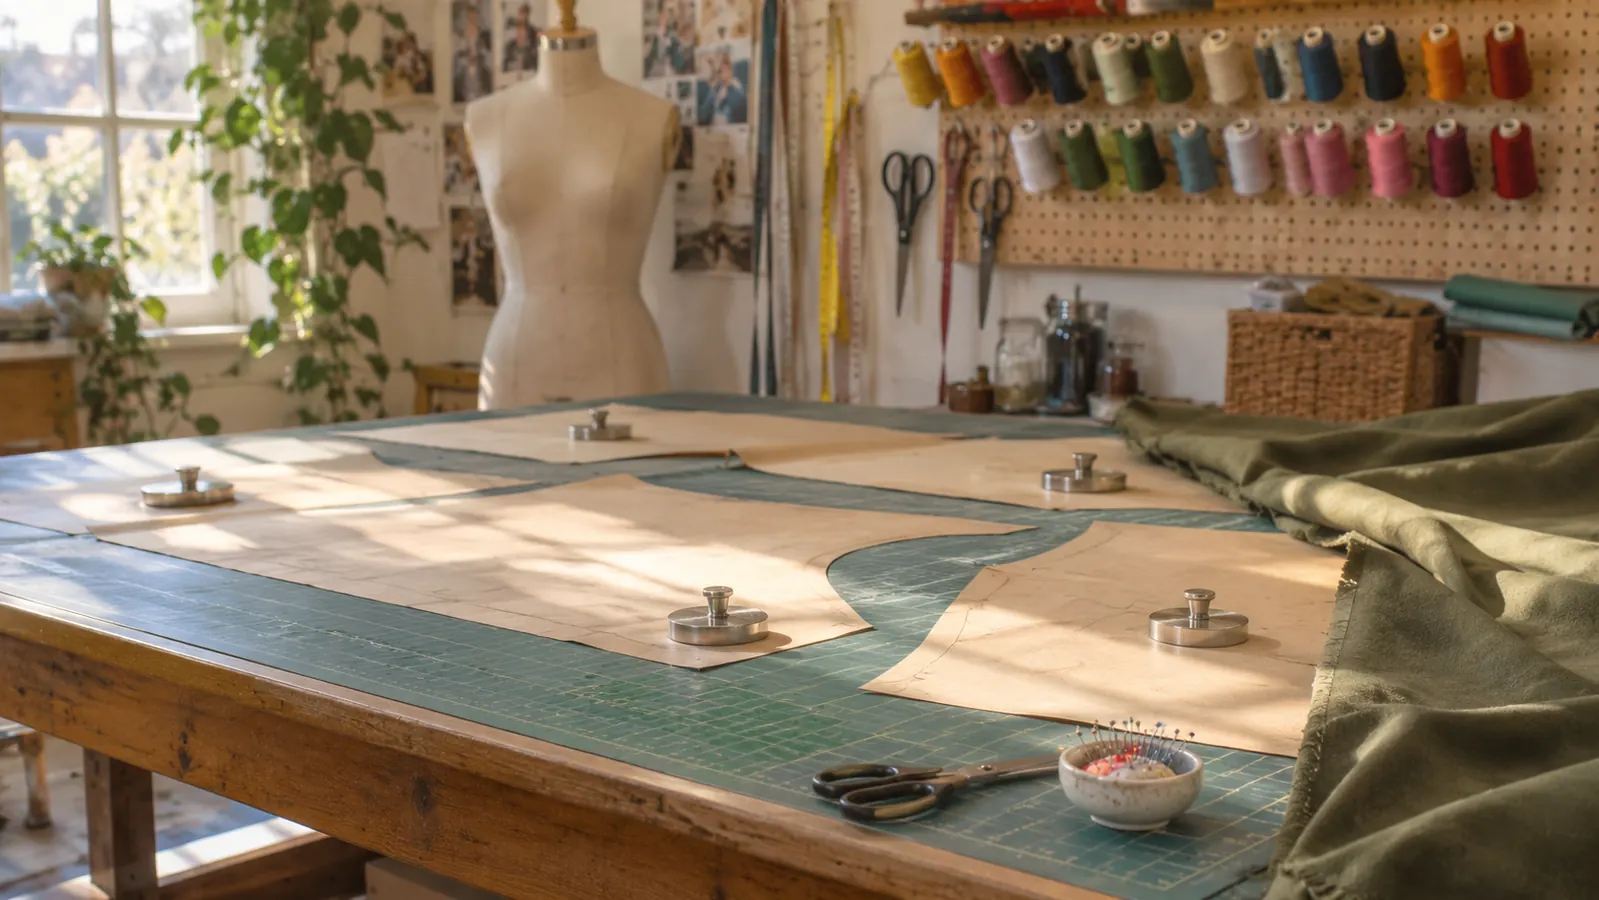
A plastic ruler lets you see through to what is underneath, and that matters more than it sounds. When I lay a curve over a pattern piece I can see the grain line, the existing seam allowance and the print all at once. On a busy floral I can check that the curve I am about to draw is not running off the piece entirely. The material is also light, so you can hold one against fabric for as long as it takes to trace without your wrist complaining.
The 12 inch curve is the one that never makes it back to the pegboard
The 12 inch curve ruler is short enough to hold in one hand and turn as you draw, which makes it the right tool for armholes, small sleeve caps, necklines and the curved openings on pockets. The larger curves are awkward when the piece is small and the table is crowded. If you only ever bought one piece on its own, this is the one that would get the most use, and it is the one I would replace first if I lost it.
The universal ruler is the dull piece that keeps every other line honest
The universal ruler is the least interesting thing in the box and the one that keeps the rest honest. Straight edges for grain lines, right angles for checking that a centre front is actually square to the hem, and a width to measure against. I use it to confirm a fold is on grain before I cut anything on the bias, which is the mistake that cost me the most fabric in my twenties. Nothing about it is clever. It just does not wander.
The measuring gauge turns a guess into a mark you can sew to
A measuring gauge is a small thing that removes a whole category of annoyance. Set it once to the seam allowance or hem depth you want, run it along the edge and mark as you go, and every mark is the same distance in. I use mine for button spacing, for turning up a hem that has to match on both sides, and for marking five eighths around a curve where a tape measure will not sit flat. It takes the arithmetic out of the job.
Six pieces cover every curve a front and back pattern actually needs
Between them, the six HLZC pieces cover the curves a front and back pattern really uses: neckline, armhole, waist, hip, crotch and hem. That sounds like a marketing list and it is not. What it means in practice is that you stop substituting one tool for a job it was not shaped for. Most of the bad drafting I did in my thirties came from running a straight ruler along a curve because the right shape was not on the table.
Holes in the ends mean the tools hang where you will actually reach for them
Some of the rulers have a hole in the end for hanging, and that detail has done more for my drafting than the shapes themselves. The set lives on the pegboard wall above the cutting table, in reach, so I pick one up instead of making do. Every tool I have ever buried in a drawer is a tool I quietly stopped using. These hang, they stay visible, and the light plastic means a small hook holds them without any trouble at all.
What I'd Skip
Two honest warnings before you spend anything. The markings are printed on the plastic, so if you cut against the edge with a rotary blade, or set a hot iron down on one, you will take the numbers off. Keep them off the ironing board and use a mat under the cutter. The plastic is also light enough that a heavy hand can flex it against a table edge, which puts a slight bow in your line, so press down with your fingers spread rather than leaning on the pencil. And if you draft in centimetres, this set will fight you, because every mark is in inches. None of that is a reason to skip it. It is a reason to treat it like a tool and not a template. It also will not teach you grading, or how much to add at a full bust, or where a shoulder seam should sit on a sloping shoulder. Those are judgement calls you learn by making a muslin and looking at it honestly.
The first neckline I drew against a curve did not gape. In twenty years of sewing, that had not happened on a first try.
Six rulers on a hook, and the curves stop being guesswork
Inch markings down to eighths, plastic light enough to hold all afternoon, sized for full paper pattern pieces. This is the set I would hand to anyone learning to draft.
Amazon See the HLZC Ruler Set on Amazon →