
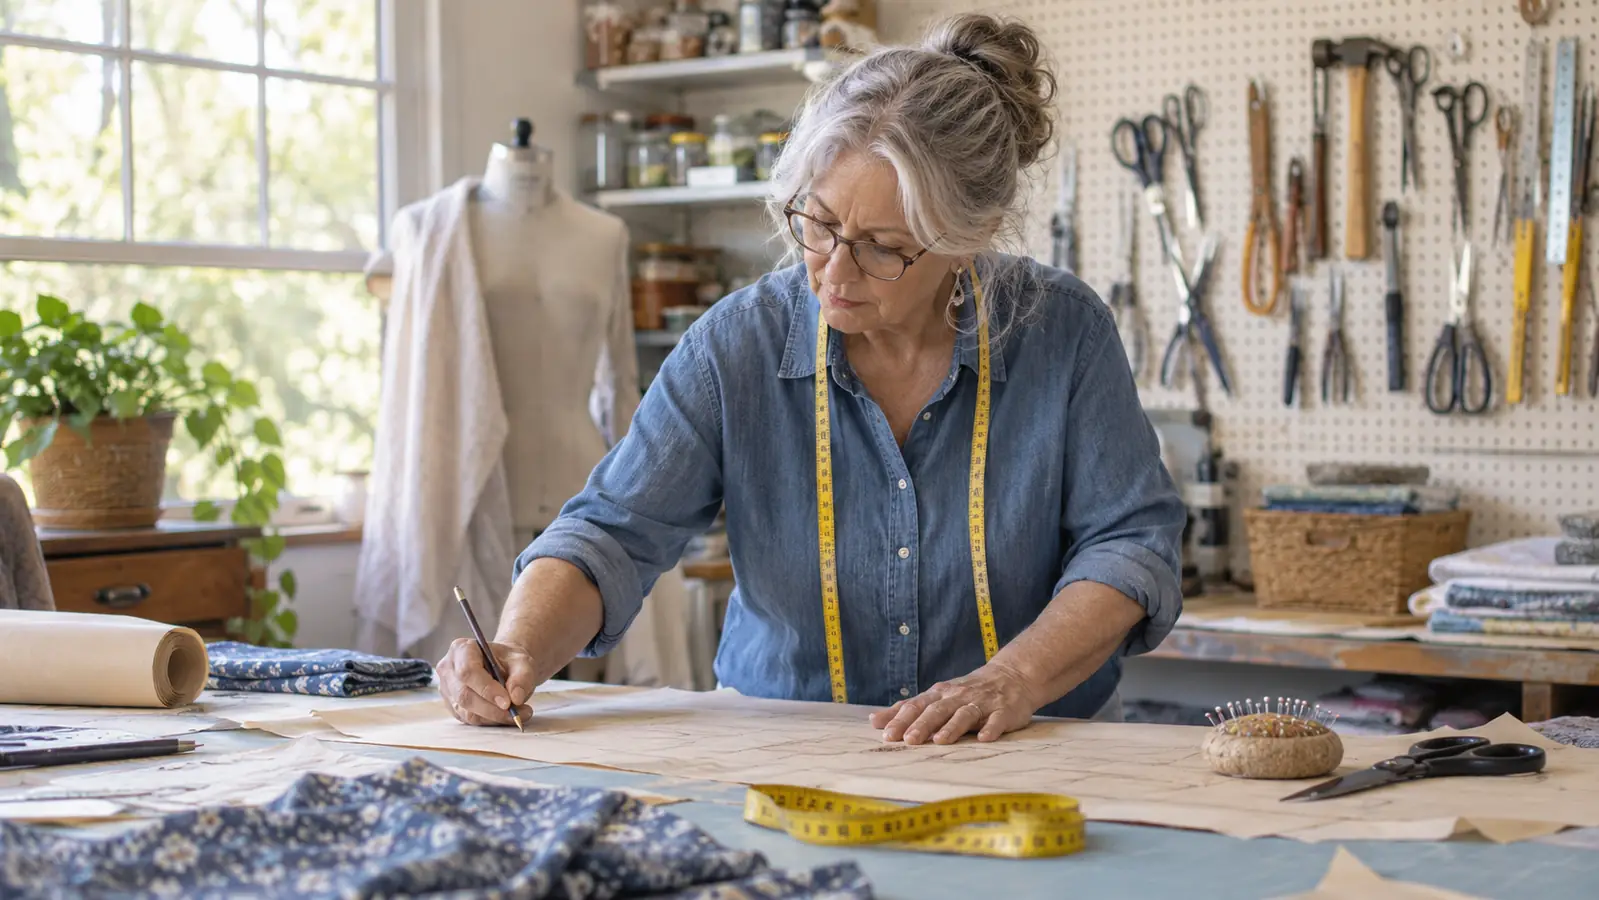
Every few weeks a woman stops me at the fabric shop with the same question. Her pattern block will not sit right over the hip, someone has told her she needs a hip curve, and she is standing in front of two very different things: a stiff metal curve about two feet long, or a sleeve of plastic rulers with six pieces in it. I have drafted for three different bodies in this house, my own, my daughter's and my granddaughter's, and I have used both kinds of curve on all three. Here is the short version. The HLZC imperial ruler set does more jobs and reads better in poor light. A metal hip curve holds a firmer line when you trace by hand. Which one you want depends on how much of your drafting happens with a pencil and how much happens along a long straight edge.
If you want the one-line answer: buy the HLZC set if you draft or true patterns from scratch and want every curve within reach. Buy a metal hip curve if the seat curve is the only one you will ever trace and you want the same tool in your hand in twenty years. Most home sewists I know end up with both and pick them up for different jobs. But if you are buying one this month, there is an order to the decision, and it starts with what you actually do at the table.
| HLZC 6-Piece Set | Metal Hip Curve | |
|---|---|---|
| Pieces in the kit | Six: two 24 inch grading rulers, a universal ruler, a 12 inch curve ruler, a 24 inch hip curve ruler and a measuring gauge | One hip curve |
| Curve variety | Short 12 inch curve for armholes, necklines and sleeve caps, plus the 24 inch hip curve for the seat and thigh | One long hip curve, sized for the seat and the sweep of a hem |
| Rigidity while tracing | Plastic has some give, so a heavy hand can flex the edge on a long sweep | Steel does not flex, the traced line stays where you put it |
| Staying put on the paper | Light, so a fold of tissue can drag it out of position | Heavy enough to sit on the pattern without a hand holding it |
| Cutting against the edge | A rotary blade will mark the plastic edge over a few years of use | Steel takes the blade without scoring, though a nick on either one is permanent |
| Reading the markings | Inch markings with 1/8 inch graduations, sized to be read against light and dark fabric | Markings vary by maker and are often fainter at a glance |
| Storage | Some pieces have a hanging hole and live on a pegboard | One long piece, hangs from a nail or lies flat in a drawer |
| Fixing a pattern already cut | The short curve lets you creep up on a seam allowance without overshooting | The long sweep suits a hem or a seat and is clumsy on a neckline |
| Drafting a whole block | Covers drafting, trueing and seam allowance in one sleeve | Solves the seat and hem curve only |
| Twenty years from now | Plastic can warp if it sits against a radiator or in a warm car | Steel keeps its shape indefinitely |
Where the HLZC Set Wins
Completeness is the first thing, and it is not a small thing. A single hip curve solves one shape, the long sweep from waist through seat to thigh. A pattern block has more curves than that. Armholes, necklines, collar stands, the rise of a trouser, a crotch seam, a sleeve cap, the curve of a pocket bag. The set gives you a short 12 inch curve ruler for the tight turns, a 24 inch hip curve for the long ones, two 24 inch grading rulers, a universal ruler and a measuring gauge. That is one sleeve on the pegboard instead of five tools bought one at a time, none of which quite match each other.
The second win is legibility. The markings are in inches with 1/8 inch graduations, and they are sized to be read against light fabric and dark fabric both. When you are trueing a seam late in the evening with a pencil between your teeth, that is worth more than it sounds. A ruler that is accurate but unreadable costs you the same time as one that is wrong, because you keep putting it down to pick up the tape measure. The pieces are also light. Shifting from the seat to the armhole is a flick of the wrist rather than a two-handed operation, and on a long cutting table that adds up over an afternoon.
There is a small practical detail I have come to like. Some of the pieces have a hole for hanging, so the set lives on the pegboard above my table instead of in a drawer I have to dig through with one hand while holding a pattern down with the other. And because every ruler in the set is in inches, I am not converting in my head between one tool and the next. If you draft in inches, that consistency is quiet, but you notice it the moment you work with a ruler that is graduated differently from its neighbour.
Where the Metal Hip Curve Wins
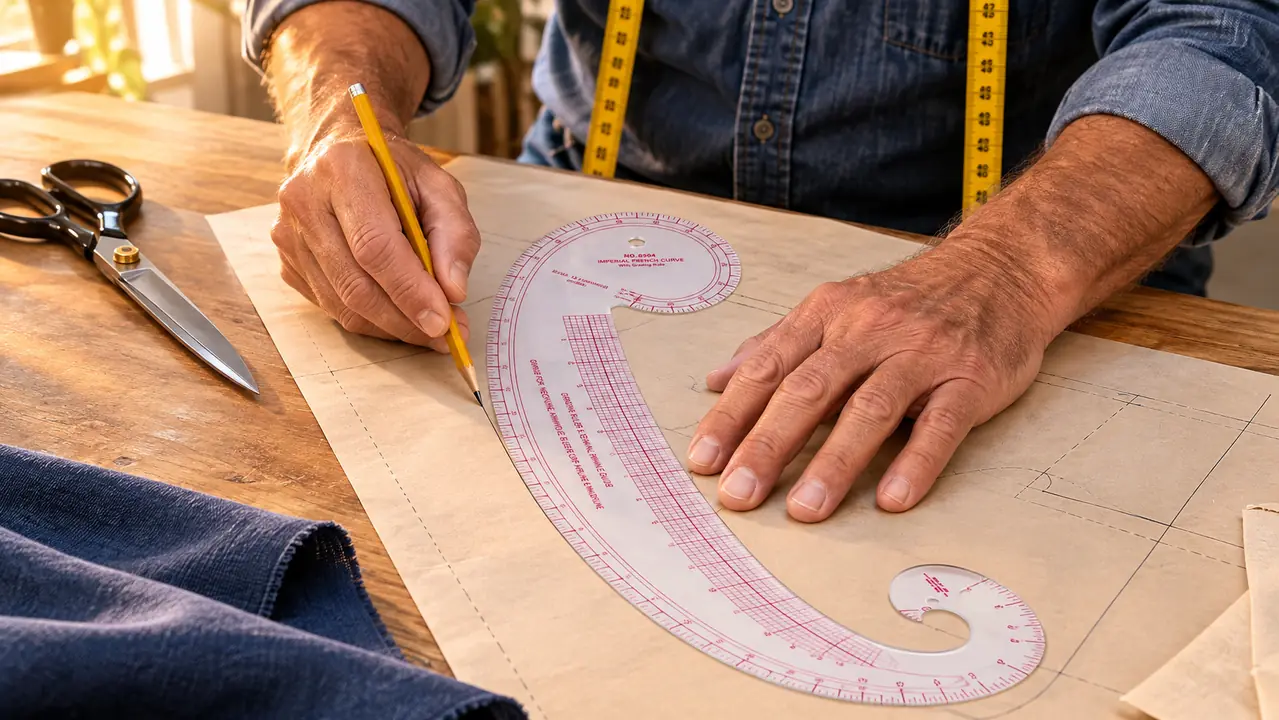
Now the honest part. A steel hip curve does two things better than any plastic one I have used, and both of them are about the hand rather than the pattern. The first is rigidity. Plastic has some give. Press hard on a long sweep and the edge flexes by a fraction, and a fraction is the difference between a traced seat curve that matches your block and one that is a hair flat through the middle. If you draft with a hard pencil and a firm wrist, steel gives you a line you do not have to re-check against the tape.
The second is weight. A steel curve sits on the paper and stays put. You can hold a pattern weight in one hand and a pencil in the other, and the ruler is not going anywhere. The plastic ones are light enough that a sleeve or a fold of tissue can drag them out of position, and you end up taping the pattern down before you can trace a clean line. Add a few years of rotary cutter passes and the steel edge is still clean, where a plastic edge picks up nicks and every nick prints onto the next pattern you cut. Steel also does not care whether it sits near a radiator or in a warm car. Plastic can warp, and once it warps there is nothing to be done about it.
One sleeve on the pegboard beats five rulers in a drawer
Six pieces, all in inches, with the short curve for armholes and the long one for the seat. If you draft from scratch, this is where I would start.
Amazon Check Today's Price on Amazon →What the Six Pieces Actually Do
The two 24 inch grading rulers do the unglamorous work. Grading is what you do when you take a block and slide it up or down a size, and it needs a long, dead straight edge that will not wander on you halfway down a side seam. Those rulers are also what I use for grainlines, center fronts and the long straight of a facing. I keep one on the table and one on the pegboard, which sounds excessive until you have hunted for the only straight edge in the room while a piece of fusible is cooling on the ironing board.
The 12 inch curve ruler is the piece I reach for most, and it is the one a metal hip curve cannot replace. Armholes, necklines and sleeve caps are tight curves. A 24 inch hip curve is simply too long to turn inside them, and if you try you get a line that is right at both ends and wrong in the middle. The 24 inch hip curve in the set is the piece that earns its keep on the seat, the thigh and the sweep of a hem, and it is the one I would compare directly against steel.
The universal ruler and the measuring gauge round things out. The gauge is the piece I use least at the drafting stage and most at the finishing stage, marking an even distance from an edge for hems and button placement, which is a job a tape measure does badly because it wants to twist. Between the six pieces I can draft, true and mark without leaving the table to go and find something else, and that matters more than any single ruler in the set being the best of its kind.
A 24 inch hip curve cannot turn an armhole, and the armhole is where most of my fitting goes wrong. That is why the short curve in the set gets more use than any other piece on my table.
How I Tested Both
For context, my sewing room is a converted spare bedroom with one long cutting table and a pegboard wall. I have sewn since I was a teenager and spent years altering clothes for friends and neighbours before I started drafting my own pieces from scratch. These days there are three shapes to fit: mine, my grown daughter's, and my teenage granddaughter's. That is the reason I care about curves at all. Two of the three of us need a seat adjustment, one needs a swayback adjustment, and both of those live or die on the long curve.
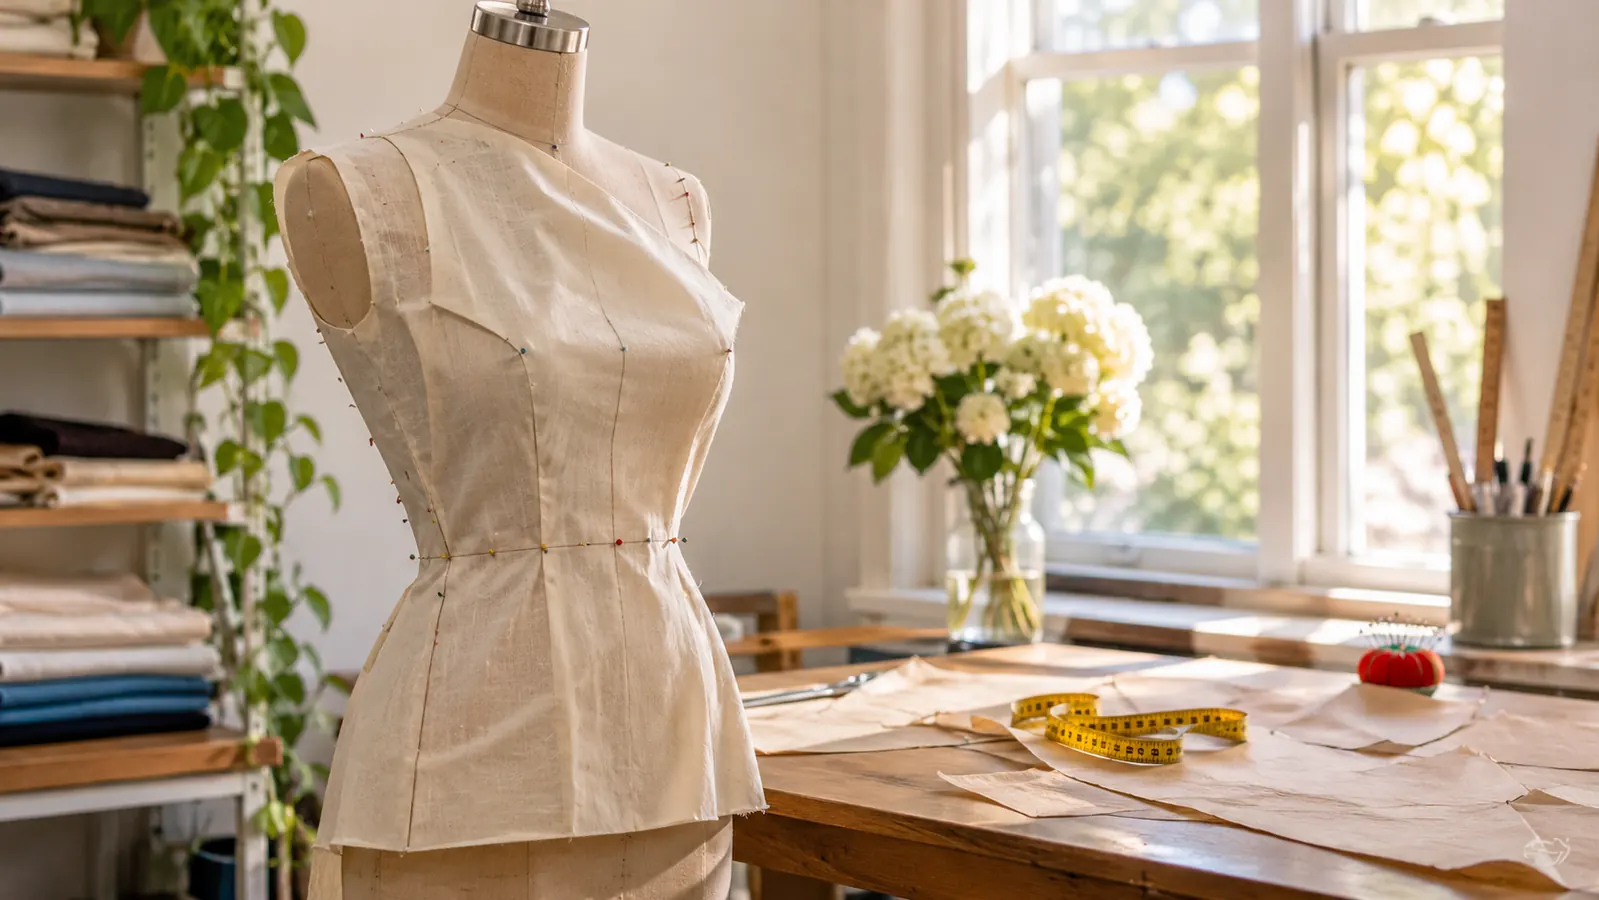
I drafted a basic skirt block and a bodice block for each of us, first in pattern paper and then in muslin, and traced every curve twice. Once with the plastic 24 inch hip curve from the set, once with a steel hip curve I have had for years. Same pencil, same paper, same table, same time of day, so the only thing changing between passes was the tool in my hand.
The result was less dramatic than I expected and more useful. On a single traced curve, the two are close. The difference shows up over an afternoon and across a whole block, not in one line, and it shows up most in the places where you have to stop and reposition the tool.
Tracing a Waist and a Seat, Side by Side
On the seat curve itself, steel won the pencil line and plastic won the setup. With the steel curve I set it down, traced once and moved on. With the plastic I found myself holding the end down with my left hand, which is a habit I did not know I had until I watched myself do it. On the other hand, the plastic curve has markings I can read without turning the ruler toward the window, so I spent less time checking that I was at the right point along the curve before I started drawing.
Where the set pulled ahead was everywhere else on the block. The seat curve is maybe eight inches of a skirt block. The armhole, the neckline, the waist seam and the crotch curve are the rest of it, and a single hip curve is no help for any of them. I finished my granddaughter's bodice with the set alone. I could not have done that with the steel curve, and I would have been switching between three unrelated tools if I had tried to make it work.
My daughter's skirt was the test that decided it for me. She has a fuller seat than I do, and the adjustment is a long, shallow curve that has to blend back into the side seam without a kink. The plastic 24 inch curve flexed slightly when I pressed, and I had to lift it and start the pass again. The steel held the sweep in one go. That is one line, on one pattern, and it is exactly the case where steel earns its place in the drawer.
Who Should Buy Which
Buy the HLZC set if you draft or true patterns from scratch, if you sew for more than one body, if you grade between sizes, or if you are setting up a sewing room and want the curves in one place rather than accumulating them one purchase at a time. It is also the better first purchase, because it covers the armhole and the neckline as well as the seat, and those are the curves that stop a beginner cold before they have even reached the fitting stage.
Buy a metal hip curve instead if the hip is the only curve you ever trace, if you draft with a firm hand and want a line you do not have to check, or if your rulers live somewhere warm and plastic has already let you down once. It is a lifetime tool for one job. It is not a starter kit, and it will not help you turn an armhole or true a neckline, so be honest with yourself about which of those two sewists you are.
If you can only have one and you are undecided, start with the set and add steel later for the seat curve specifically. That is the order I would do it in again, and it is the order I recommend to the women who ask me at the fabric shop.
The short curve does the work a single hip curve cannot
Six pieces in inches, covering armholes, necklines and the seat. Start here if you are drafting your own blocks.
Amazon Check Today's Price on Amazon →