Nobody warns you that a first dress is mostly a nerve problem. The pattern tissue looks like a paper snowflake. The fabric shop sells you two and a half yards of something that slides off the cutting table. And somewhere at the back of your mind sits a memory of a machine that jammed while everyone in the room watched.
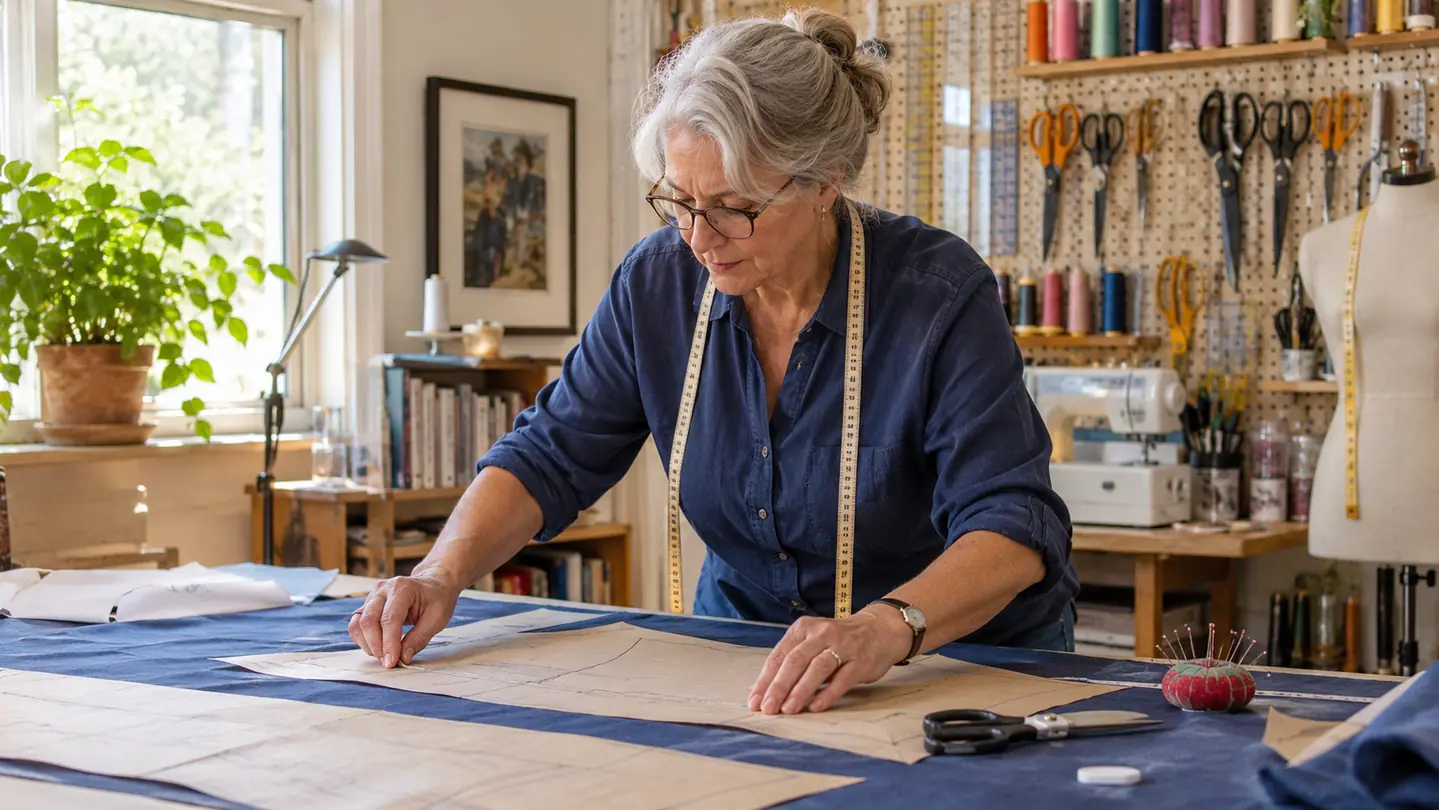
I have sewn since I was a teenager, and I have talked more than one grown woman through her first dress at my cutting table. The machine is almost never what stops her. What stops her is not knowing which decisions matter now and which ones can be fixed later. This is the walk-through I give, using the Brother XM2701 as the example, because it is the machine most beginners bring to me and the one I can explain without a manual propped open on the table.
The machine was never going to be the thing that stopped you
27 built-in stitches, an automatic needle threader and a drop-in top bobbin. Twelve and a half pounds of metal that sits still while you feed a skirt through it. Take a look at what you would actually be working on.
Amazon Check Today's Price on Amazon →Pick a Pattern That Forgives You
A first dress should be a simple shape with few pieces. A shift, a sleeveless A-line, a pullover in the pillowcase style. Count the pattern pieces before you buy the tissue: six is comfortable, twelve is a second dress. Look for a pattern already graded across a range of sizes, because you will almost certainly need to blend two sizes across the bust and the hip, and that is not a failure of your body or your sewing. It is what nearly every woman I have ever sewn for has had to do, myself included.
Check the seam allowance next. Some patterns include it in the cutting line and some do not, and if you assume wrong you lose a whole size in one afternoon. Mark it on the fabric in tailor's chalk before you unpin anything. Nearly every first dress I have watched go wrong went wrong here, quietly, an eighth of an inch at a time, until the side seam would not close.
Step 1: Choose a Fabric That Behaves
Quilting cotton is the honest answer for a first dress. It does not slide, it does not stretch under the needle, and it presses flat when you ask it to. A cotton voile or a light linen blend is a fair second choice. What you want to avoid is anything that moves on its own: charmeuse, crepe de chine, a jersey with opinions. Those fabrics are not harder in some vague way, they are harder in a very specific way, and you will meet them properly on dress number four.
Wash, dry and press the fabric before you cut into it. Cotton shrinks, and a dress that fits in March and does not fit in June is a hard lesson to take from a finished garment. Pre-washing also removes the factory finish that makes new cloth stiff and slightly slick under the foot, which is a small thing that makes a surprising amount of difference to a beginner's seams.
Thread matters more than beginners expect. Pick a mid-weight all-purpose thread in a shade close to your fabric, and start with a fresh needle. The Brother XM2701 arrives with a three-piece needle set, a twin needle, four bobbins and six sewing feet in the box, along with a darning plate and a screwdriver, so you are not starting from an empty drawer. You will spend most of this dress on one foot and be quietly glad of the others later.
Step 2: Thread It Once, Properly
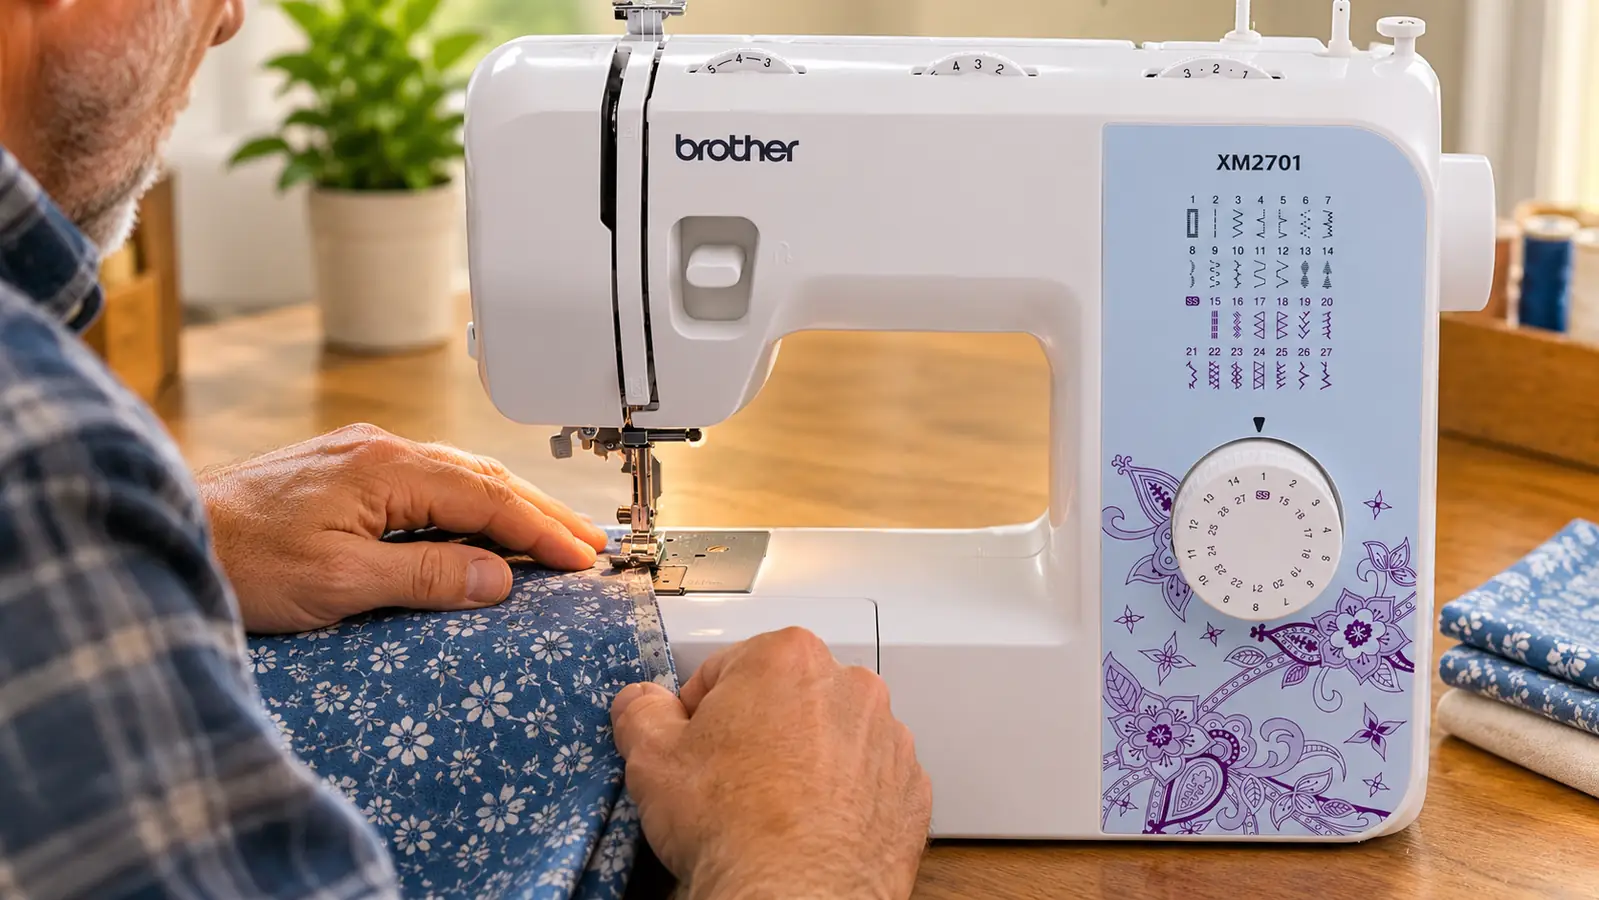
Threading is where a first dress stalls for an hour and the confidence goes. The XM2701 has an automatic needle threader and a drop-in top bobbin, which takes away the two jobs beginners dread most. Drop-in means the bobbin sits in a case on top of the machine where you can see it, rather than in a shuttle underneath that has to be fished out and put back in the right orientation by feel. If you have ever borrowed a machine and given up on the bobbin, this is the difference you are paying for.
Work through it in order, with the presser foot raised so the thread seats properly, following the numbered path on the machine. Then bring the bobbin thread up before you begin, or every seam will start with a knot of thread underneath that you have to unpick. If it jams, rethread from the beginning rather than trying to patch it halfway. A half-threaded machine causes most of the trouble that beginners end up blaming on tension.
You have 27 built-in stitches to choose from, including decorative stitches and a blind hem. For a first dress, use a straight stitch for the seams and a zigzag for finishing raw edges, and leave the rest alone until dress number three. The machine feels far less like a control panel that way, and you learn what a good straight seam looks like before you start decorating anything.
Step 3: Sew Scraps Until the Seam Lies Flat
Take two scraps of your actual fabric, not muslin, not a leftover from another project. Sew a seam, press it open, and look at it in daylight. If the fabric puckers along the stitch line, the stitch is too tight for that cloth. If the seam ripples, you are pulling the fabric through instead of guiding it. If the stitches skip, change the needle before you change anything else. Five minutes of this tells you more than an hour of reading.
Press as you go. Not iron, press. Set the iron down, let the steam do the work, lift it, move on. A pressed seam behaves differently in the next step, and a good many fit problems beginners blame on the pattern are really unpressed seams pulling the grain off line. This is the single habit that separates a dress that hangs properly from one that looks homemade in the wrong sense of the word.
Then baste the side seams, try the dress on inside out, and pin your adjustments before you sew anything for real. Sewing the whole dress and checking the fit afterwards is how a dress ends up fitting nobody. The machine is quick enough that you can baste, fit, unpick and resew in a single evening, and you should, because that is the evening that saves the project.
Step 4: Build the Bodice, Then the Skirt
Darts, shoulder seams and the neckline first. Sew each dart from the wide end toward the point so the fabric does not pucker at the tip, and press it toward the centre of the body. Join the shoulders, then stay-stitch the neckline before you handle it again. A neckline that has stretched out is very hard to bring back, and stay-stitching costs you two minutes and one scrap of nerve.
Then the skirt, then join the two at the waist. Gather with two rows of long stitches and pull the bobbin threads, pinning the quarters first and filling in between so the fullness stays even across the front and back. On a full skirt, having the machine close to your work helps more than you would think. The XM2701 measures 15.3 by 5.86 by 12.01 inches and weighs 12.6 pounds, so it sits where you put it rather than walking across the table while you wrestle three yards of cotton.
Sleeves are the part where people abandon the whole idea. If your pattern has them, set them in flat, before the side seams are sewn, rather than trying to sew a circle into an armhole afterwards. It is the same seam approached from a kinder direction, and the finish looks identical from the outside. Nobody who sees you wearing the dress will know which order you did it in.
Step 5: Finish the Seams and the Hem
An unfinished dress frays in the wash and looks tired by the third wearing. Zigzag the raw edges of every seam, or use the blind hem stitch if you want something softer on a light fabric. Neither takes long. Between them they are the difference between a dress and a project that lives in a bag at the back of the closet.
Let the hem hang overnight before you mark it, because fabric drops once it is cut on the bias. Mark it with chalk against a ruler held up from the floor, pin it, then sew. The blind hem stitch gives an almost invisible line that survives repeated washing, and on a cotton dress a narrow turned hem is plenty. Keep the hem even and slightly longer than you think you want, then take it up once you have worn the dress with the shoes you actually own.
Press the finished dress inside and out and hang it until morning. The first time you wear it you will see every flaw, and you will point them out to anyone who compliments it. The second time you will see the fit. By the third time you will be sketching the next one on the back of an envelope, which is how this usually goes.
What the Machine Will Not Do For You
It will not cut the pattern for you, and it will not tell you the shoulders are too wide until you have already sewn them. It will not fit the dress to three different body shapes, which in this house means my own, my daughter's and my granddaughter's, three women who share a sewing room and almost nothing else in the way of measurements. Fit is your job. The machine's job is to put a straight, even seam exactly where you asked for one, over and over, without complaint.
It also will not replace an overlocker, and it does not need to for a first dress. Zigzag finishing on a cotton seam will outlast the dress. What it will do is give you 27 stitches, a needle threader that saves your eyes, and a metal body that stays put. That is a modest list written down, and it is the whole reason a beginner can finish a dress in a weekend instead of fighting the equipment.
What Else Helps
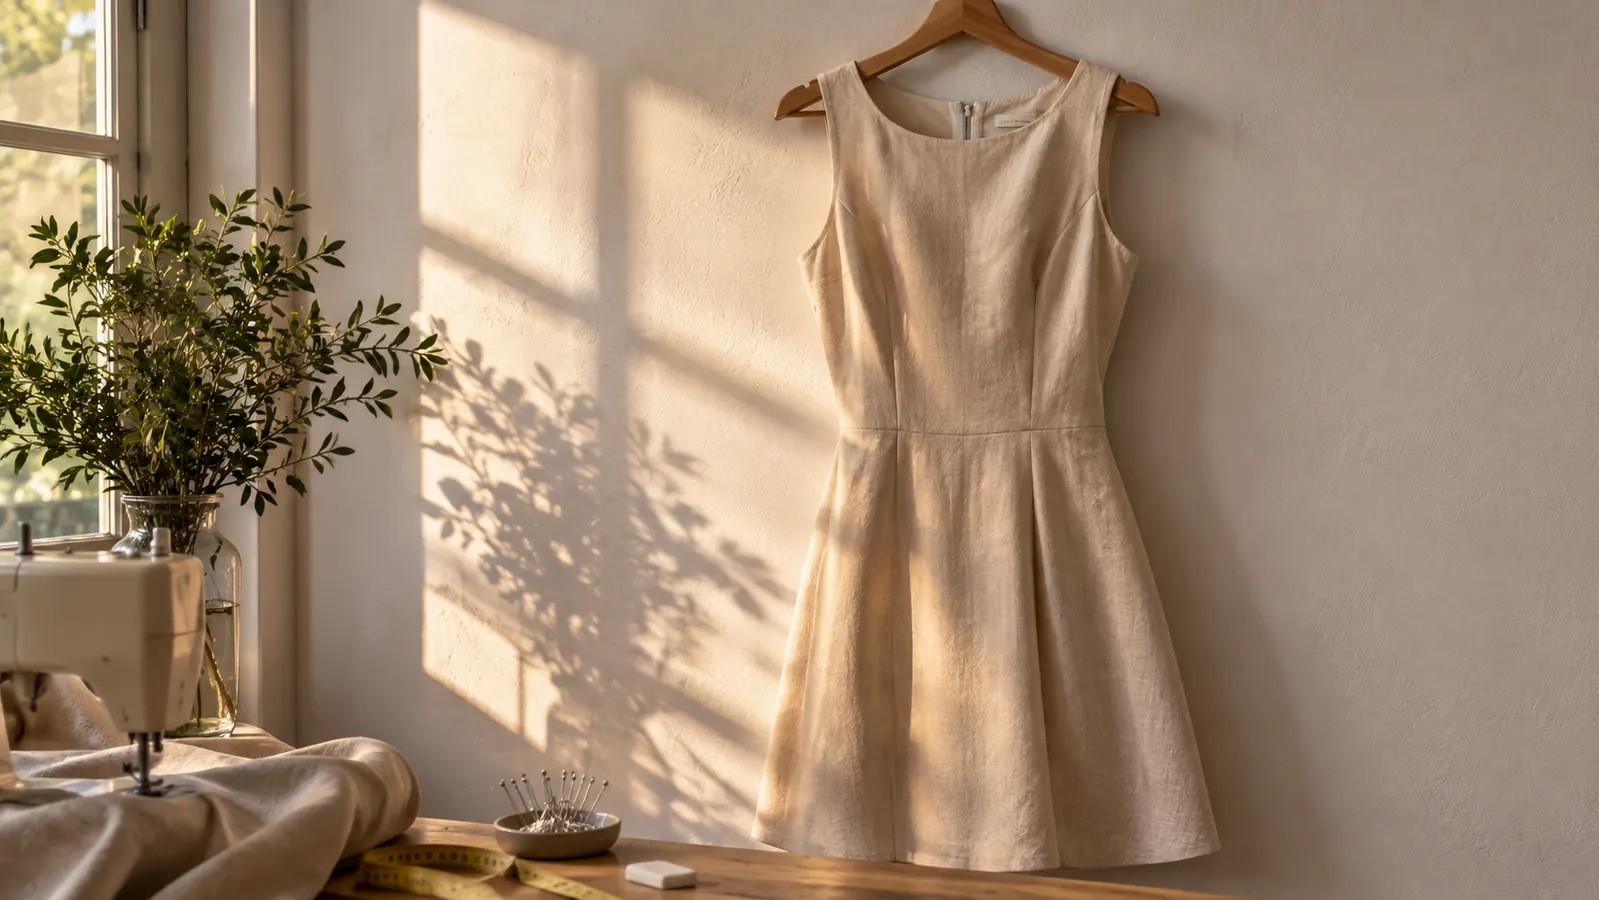
Tailor's chalk, a seam ripper within reach, fine pins and a pressing cloth. That is the entire list. You do not need an overlocker to make a first dress, and you do not need a dress form, though a friend with a pin box is genuinely useful at hem time. Most of what people buy before their first dress is bought out of nerves rather than need, and the money is better spent on good fabric that behaves.
What you do need is one machine you understand. The Brother XM2701 is a corded, metal-bodied machine with 27 stitches and no menu to learn. It is heavy enough to sit still while you feed a skirt through it and light enough to lift off the table when the spare room goes back to being a spare room. For the three generations of us sewing in that room, in three very different shapes, that has been the whole requirement.
You will not ruin the dress at the machine. You will ruin it by skipping the scrap seam, and the scrap seam takes five minutes.
Start with the machine that will not fight you back
27 stitches, automatic needle threading, a drop-in bobbin you can actually see, and six feet in the box. Enough machine to finish a first dress and honest enough to tell you when a seam is off.
Amazon Check Today's Price on Amazon →