

Nobody tells you that the hardest part of making your own clothes is not the sewing machine. It is the hour before, when you have a stack of measurements, a sharp pencil and a blank sheet of paper, and you have to turn all of that into a shape that will sit properly on a real body. I have been doing that hour for the better part of four decades, first altering other people's clothes for neighbours, now drafting my own patterns on a long cutting table in what used to be a spare bedroom. And I have thrown away more bad curve rulers than I care to admit.
So when the HLZC Imperial Sewing Ruler Set arrived, six plastic pieces graduated in inches, I did what I always do with a drafting tool. I put it straight to work on a bodice I had already drafted once and was not happy with. This is not a set that will change how you sew overnight. It is a set that makes the drafting hour less annoying, and that is worth more than it sounds. Here is the honest version, including the parts I did not like.
The Quick Verdict
A genuinely useful drafting kit for the home sewist who works in inches, provided you accept that flexible plastic bows under one hand and that the set needs to hang, not stack.
Amazon Check Today's Price →Six pieces, one flat sheet of paper, and no more guessing where the curve should land
If your pattern drafts keep coming out slightly off at the armhole, this is the set that lets you check the line instead of hoping. Inches only, marked at eighths, and light enough to hold all afternoon.
Amazon Check Today's Price on Amazon →How I've Used This Set
Three projects so far, all within the last two months: a linen shift for my daughter, cut to a thirty-eight inch bust with two inches of ease and a neckline I redrew four times; a pleated school skirt for my granddaughter at a twenty-two inch waist and eighteen inch length; and a jacket toile for myself that I re-cut twice before I was satisfied. My work is mostly flat drafting on paper, then truing the seams, then transferring to cloth. Every piece in this set has a job inside that sequence. Nothing sat in the drawer unused, which is more than I can say for most multi-piece kits I have bought over the years.
The first thing I did was check the graduations against a steel rule I have trusted since the nineties. I laid each long ruler alongside it and compared the marks at one inch, at eight, at sixteen and at twenty-three, and the eighth-inch marks lined up along the full length of both 24 inch grading rulers. That sounds like a low bar. It is not. I once owned a curve where the printing drifted by a sixteenth toward the far end, and you only discover that after you have cut a waistband and wondered why it walked when you joined it. That waistband cost me an evening and a very generous seam allowance to rescue.
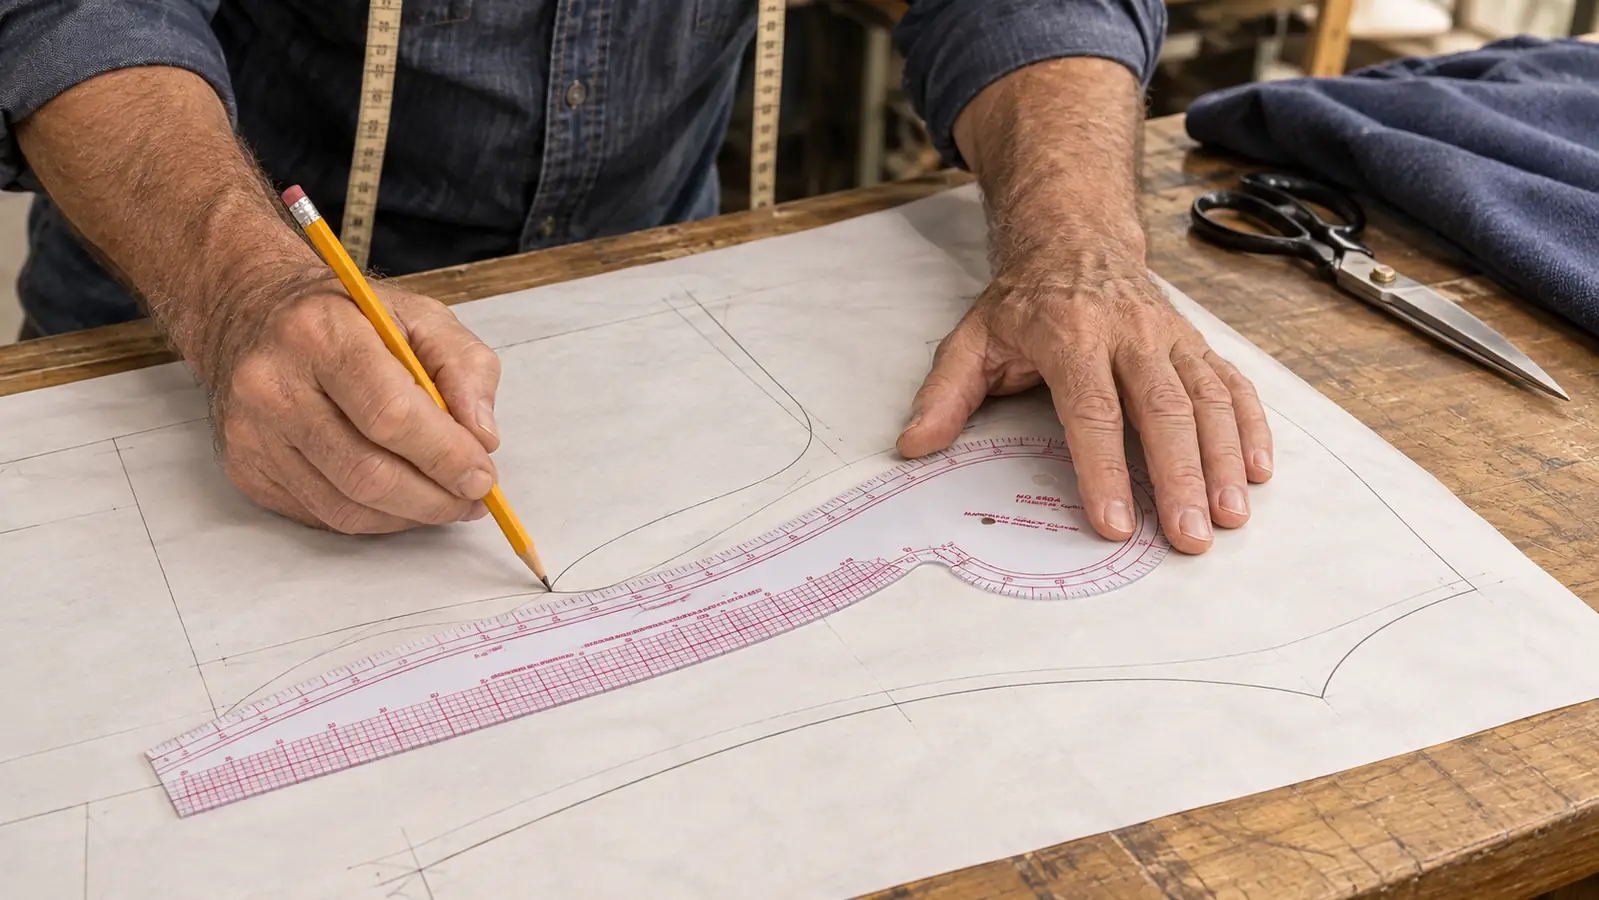
The second thing I did was draw the same armhole three ways on a sheet of brown paper: once freehand, once with the 12 inch curve ruler, once with the hip curve. The armhole was for a bodice front on a thirty-six inch bust, roughly nine inches deep from shoulder to underarm, so it is a long shallow curve and not a tight one. The two ruled versions came out cleaner at the underarm, which is the spot where a freehand line always wobbles. The freehand version, honestly, was closer to the shape I actually wanted. That is not a fault of the tools. It is a reminder that a curve ruler helps you draw a smooth line, not a correct one. You still have to know where the line should go.
What the Six Pieces Actually Do
The pieces are less interchangeable than they look. The two 24 inch grading rulers are straight edges, and their value is length. They run the full length of a trouser leg or a coat panel without shifting. Short rulers move. Long ones stay put if you weight them. I use these for grain lines, centre fronts and hems, and for the long side seams on a pair of wide trousers where a twelve inch rule would have to be walked down the seam in four moves and would drift on every one of them.
The universal ruler is the generalist: seam allowances, button spacing, the small square checks at a corner, the inch and a half turnback on a hem facing. The 12 inch curve ruler handles the tighter curves, necklines, armholes, small sleeve caps, the place where a faced neckline turns quickly and a long tool is more trouble than help. The 24 inch hip curve is the piece I reach for most often, because a long shallow sweep also works for gentle waist suppression and for a coat hem, and once you have used a long curve on a hip you will not want to go back to a short one. That is the quiet strength of the HLZC set. It gives you length where length matters.
The measuring gauge is the piece people underrate. It is the small sliding one, and it is what you want when you are marking a hem allowance at a consistent depth around a curve, or checking that a patch pocket is square before you stitch it on. Mine lives out on the table rather than in the sleeve. If it is in the sleeve I will not use it, I will eyeball the hem, and then I will spend an evening unpicking the hem. A hem that varies by a quarter inch from front to back is visible from across a room, and nobody ever blames the eyeballing.
The eighth-inch marks lined up along the full length of both 24 inch rulers. That sounds like a low bar. It is not.
What Nobody Tells You About Malleable Plastic
The listing calls the plastic malleable, and it is. That one word is both the honest selling point and the honest weakness. A flexible ruler lies flat on paper, follows a curve you are truing, and will not score a cutting mat. It also bends under a warm hand if you hold it in the middle of a long run, which puts a shallow bow into a line you believed was straight. I drafted a centre back seam on a wool coat last month, held the long ruler in the middle out of pure habit, and drew a line with a bow of maybe a sixteenth in it over twenty inches. A sixteenth sounds like nothing until the lining goes in and the back seam pulls.
My fix is unglamorous. I hold a long ruler at both ends, never the middle, and I press the palm of my free hand flat along the centre while I mark. If I need a guaranteed straight line for a centre front, I use the steel rule and keep the plastic for curves and seam allowances. That is not a knock on the set, it is simply how plastic drafting tools behave. Anyone who tells you a flexible ruler draws a dead straight edge with one hand is selling something.
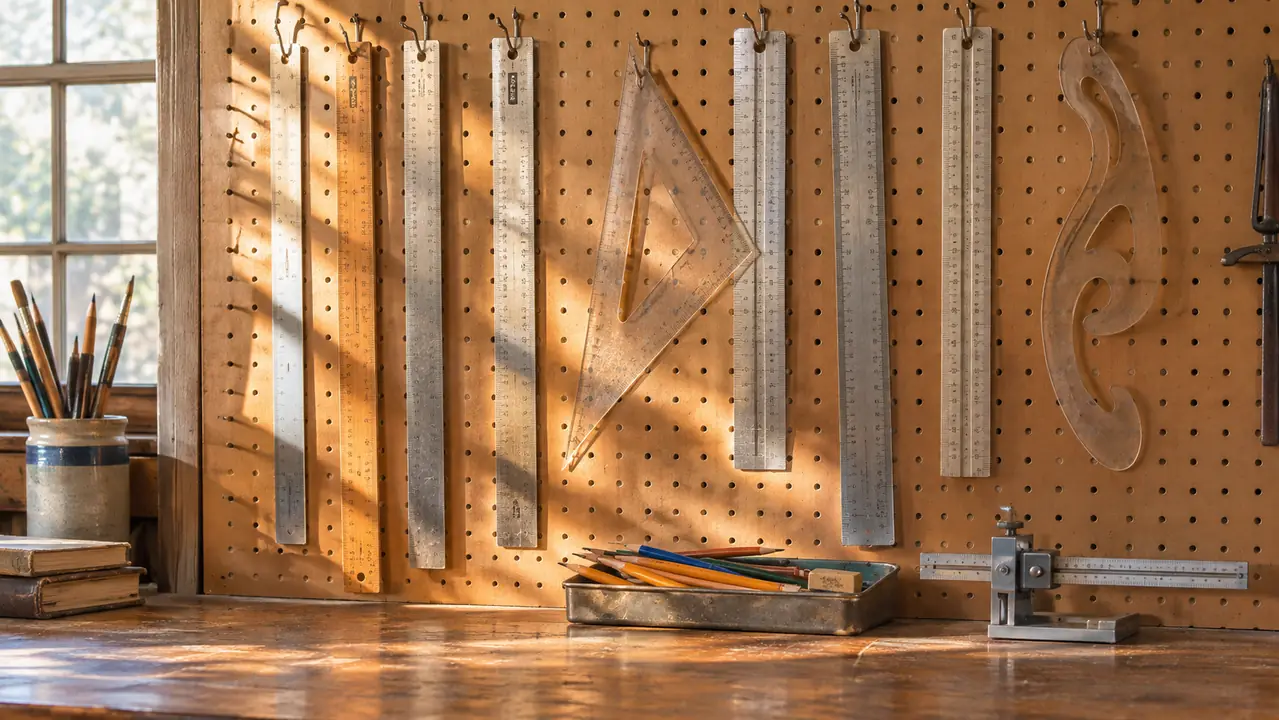
The other thing nobody mentions is storage. These pieces are long, thin and light, and some of them have hanging holes, which tells you what the maker expects you to do with them. Mine live on two hooks on the pegboard behind the cutting table, at shoulder height where I can lift one off without stepping back. If you stack them flat under a pile of fabric they will take on a set, and then the curve is not the curve anymore. It is not permanent damage, but it is irritating on a Tuesday night when you want to finish a sleeve and the long curve has a kink in it from a bolt of denim that sat on top of it for a fortnight.
The Markings, and the Inch-Only Decision
Every piece is graduated in inches at eighth-inch increments, and the markings are printed dark enough to read against both a pale muslin and a dark wool. That last part matters more than it sounds. Plenty of drafting tools have markings that disappear on anything but white paper, and you end up squinting at a chalk line instead of at the ruler. I tested mine on the worst fabric in the house, a black wool crepe that swallows pencil and chalk alike, and the numbers still read.
The inches-only choice will divide people. If you draft in centimetres, this set is not for you, and there is no conversion habit that makes it pleasant. If you work in inches, having every piece in the same unit removes a small, constant tax from your day. I keep a mixed drawer, and I have cut a seam allowance at fifteen millimetres believing it was five eighths. Once. Never again. That skirt still hangs in the cupboard as a reminder.
Working With It on Real Fabric
Paper is forgiving. Fabric is not, and this is where a drafting set earns or loses its place on the table. I use the rulers two ways on cloth: as a straight edge for grain and crosswise lines, and as a guide when I am marking a seam allowance along a curve I have already trued on paper. The second use is the one that matters. A wobbly allowance on a curved armhole seam shows up as a pucker at the shoulder, and no amount of pressing takes that out. I marked the allowance on my daughter's linen shift with the 12 inch curve and the shoulder went in clean on the first try, which is not a sentence I get to write often.
The flexible plastic genuinely helps here, because it sits against a shoulder curve that a rigid steel rule refuses to follow. You hold it with one hand, mark with the other, and the line stays where the fabric is rather than where the ruler wants to be. The linen was the real test, because handkerchief linen creeps under a ruler and will not sit still while you argue with it. The plastic warmed to the fabric and stayed put. That is the case where I reach for the HLZC pieces instead of the steel. Not for straight lines. For the curves.
Where It Frustrated Me
Two things. The edges are cleanly cut but not bevelled, so on a fine slippery fabric the ruler edge can catch. I run a fingertip of beeswax along the long edge of a new plastic ruler before the first use and that stops it entirely; I keep a block of it in the pencil tray for exactly this. The second frustration is the ratio of pieces. You get two grading rulers and one universal ruler, and that is not the ratio I would have chosen. I would rather have a second 12 inch curve, because that is the piece I mislay most often, usually under a pattern piece, usually right when I need it.
The last frustration is small but real. Nothing in the set tells you which curve is for what. If you have never drafted before, you will look at four curved pieces and guess. My granddaughter guessed wrong twice on her skirt, using the long hip curve on a neckline, which is like using a yard broom to write a letter. There is a learning cost here, an afternoon of scrap paper and pencilled notes. It is a cheap afternoon, but it is not free, and I would rather say so than pretend the kit teaches you.
What I Liked
- Eighth-inch graduations stayed accurate along the full length of both long rulers
- Six pieces cover straight edges, tight curves and long shallow curves without duplicating a job
- Flexible plastic lies flat on paper and will not score a cutting mat
- Markings stay legible on pale muslin and dark wool alike
- Hanging holes mean the set stores on a pegboard instead of in a pile
Where It Falls Short
- Flexible plastic bows under one hand, so long straight lines still want a steel rule
- Inches only, with no metric graduations anywhere in the set
- Edges are not bevelled and can catch on fine fabric until you wax them
- Nothing in the kit explains which curve suits which part of a pattern
- The ratio of two grading rulers to one 12 inch curve is not the one I would pick
Who This Is For
This set suits the home dressmaker who drafts and adjusts in inches and wants one kit on the wall rather than five odd rulers rattling in a drawer. It suits anyone who alters clothes for other people, because alterations are mostly small corrections, and small corrections are what the shorter pieces are built for. It also suits a beginner who has sewn a few paper patterns and now wants to start changing them.
It suits my granddaughter, who is fifteen and has just begun drafting a skirt for herself. The graduation is fine enough that she can see her own mistakes on the paper, which matters enormously when you are learning. A coarse ruler hides errors until the fitting, and the fitting is a bad place to meet them.
Who Should Skip It
Skip it if you draft in metric. Skip it if you want one heavy steel curve that will not move under any circumstances, because this is not that tool and no flexible ruler is. Skip it if you want instructions, because there are none in the box beyond the piece names.
One more group. If you already own a long hip curve and a 12 inch curve you like, the gains here are marginal. The HLZC set is worth buying because it consolidates what you already use, not because it does something new. That is the honest summary of nearly every drafting kit, and I would rather tell you that than sell you a second set of curves you do not need.
I have made my peace with the plastic. The steel rule stays within reach for the straight runs, the set hangs on the wall where I can see it, and I reach for the hip curve a dozen times in a session. That is what a good tool does in the end. It stops being something you own and becomes something you use without thinking about it.
The drafting hour gets shorter once the right curve is already in your hand
Six pieces, inches only, graduated at eighths, and light enough to hang on the pegboard above your own cutting table.
Amazon Check Today's Price on Amazon →