
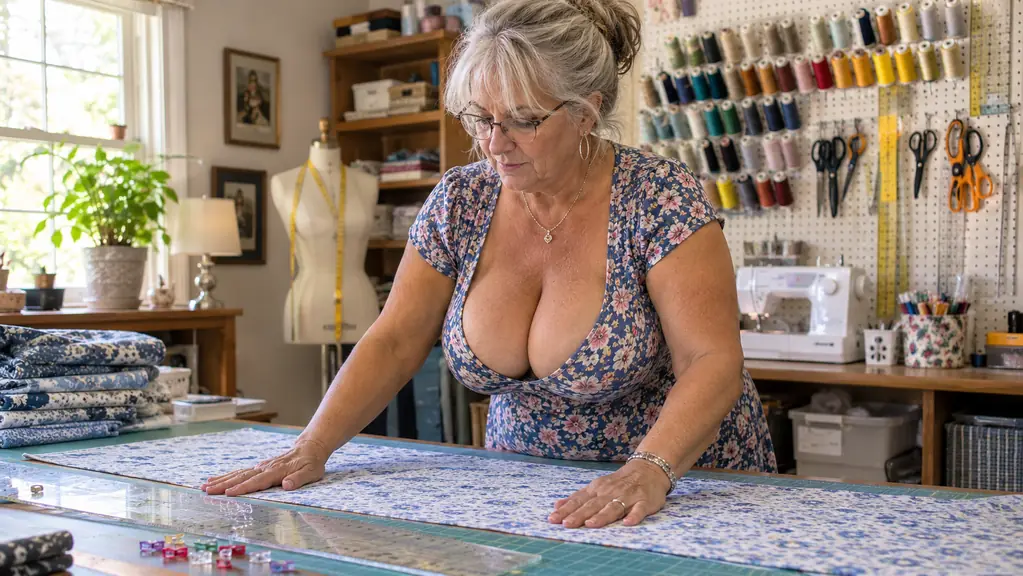
The first time I cut a slippery lining fabric with shears, I lost four inches off a skirt panel and an hour of my evening. The blades lifted the cloth instead of biting it, the lower blade pushed a ridge of fabric ahead of itself, and by the time I reached the end of the cut one side of the panel was a quarter inch wider than the other. That was more than twenty years ago and I still remember the seam I had to let out twice. Slippery fabric is not difficult. It is mobile. Shears lift. A rotary cutter presses.
That distinction is the whole argument for a rotary cutter, and it is why a set like the Honey's Heaven rotary cutter set has earned a permanent place on my cutting table. A 45mm blade rolling against a self-healing mat traps the cloth between steel and surface, so it has nowhere to slide. The set came with the cutter, five replacement blades, an A3 cutting mat and an acrylic ruler, and I have put silk-blend lining, sandwashed cupro, polyester crepe and one very determined stretch jersey through it. None of those cuts were perfect. Every one of them was better than what my shears managed on the same cloth.
Slippery fabric stops sliding when you stop lifting it
The Honey's Heaven rotary cutter set gives you the 45mm cutter, five replacement SKS-7 steel blades, an 18 by 12 inch self-healing mat and an acrylic ruler in one box. It is the setup I reach for on lining, cupro and crepe, and it is what I hand to anyone who tells me they cannot cut a straight line.
Amazon Check Today's Price on Amazon →Step 1: Press the fabric flat, then give it a little tooth
Fabric off the bolt carries a memory of being folded, and that memory lies about its shape. Press it before it goes anywhere near the mat. Use a dry iron at the setting the fibre asks for, with a pressing cloth between the metal and the cloth, because cupro and thin lining will mark and shine if you lean on them. Then let the fabric cool completely before you move it. Warm cloth stretches under a ruler and relaxes back after you have already cut, which is how you end up with two panels that were supposed to match and do not.
If the fabric still handles like a wet bar of soap, a light spray of ordinary laundry starch gives the surface some tooth. I use it on sandwashed cupro and on the polyester lining I buy for my granddaughter's dresses. Spray, let it dry fully, press once more, and the cloth stops skating. Test on a scrap first. Some silks water spot, and you will not forgive yourself for finding that out on the front panel.
Give yourself room, too. My cutting table is the long one in the converted spare bedroom, and I clear it completely before I start, because a stray pin or a pair of shears under the mat will telegraph through and nick the blade. It takes ninety seconds to clear the table and considerably longer to drive across town for a new blade.
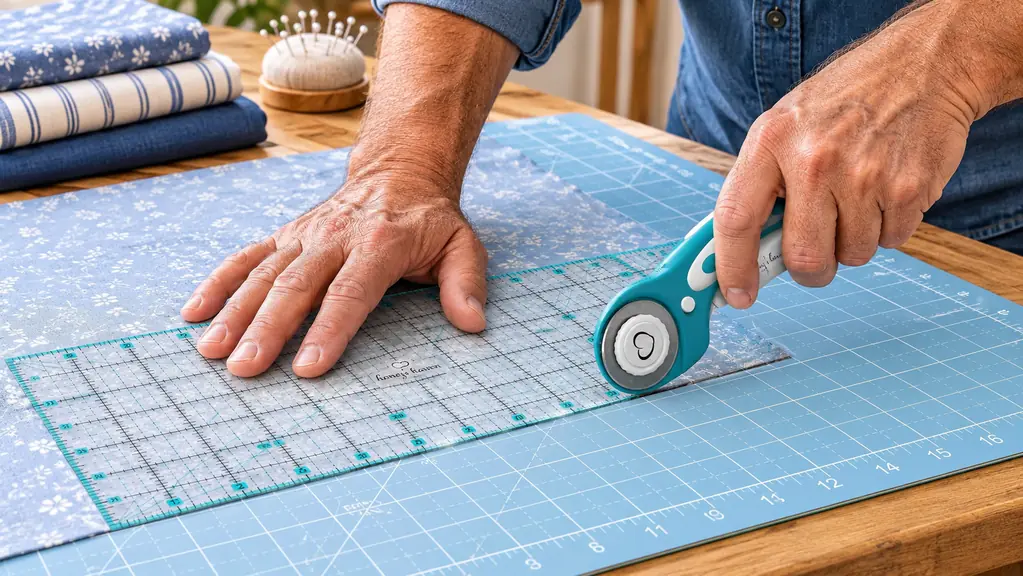
Step 2: Square up on the mat and hold the cloth with weights, not fingers
The mat in this set is 18 by 12 inches, which is A3, with a printed grid of 16 by 10 inches and a thickness of 3mm. Lay the fabric so a straight edge sits on a grid line and use the printed lines instead of trusting your eye. Slippery cloth will convince you it is straight when it is not. If the piece is longer than the mat, square the end you are working from, cut it, then slide the fabric along and square it again, rather than wrestling the whole length at once.
Hold the cloth with pattern weights, a heavy ruler, or the flat of your hand behind the ruler. Never curl your fingertips over the cutting edge to hold things steady. The craft clips that come in the set are for clipping folded layers together or bundling cut pieces, not for pinning fabric down to the mat, and using them that way will pucker the edge you were trying to keep flat.
For the really slippery stuff, cut in a single layer. Yes, it takes twice as long, and yes, the two pieces will occasionally disagree with each other by a sixteenth of an inch. A single layer that behaves is worth more than a folded pair that shifts. I learned that on a cupro slip dress for my daughter and I have not argued with it since.
Step 3: Check the screw and stand up to cut
The cutter in this set has a stainless steel handle and an adjustable screw system that holds the blade steady. Check that screw before every cutting session, not once a month. A blade that wobbles even slightly cuts a ragged, stair-stepped line, and on slippery fabric you will blame the cloth for something the hardware did.
Grip the handle so the blade sits directly under your wrist rather than off to one side. If the blade is offset, you will steer the cutter with your fingers instead of your arm, and the cut will curve to follow them. Keep your spare hand behind the ruler, pressing down, well out of the path of the blade.
Then stand up. This is the part people skip. Cutting seated at a dining table puts your shoulder above the work and your wrist at an angle, and the cut follows the wrist. My table is high enough that my forearm sits roughly level with the mat when I stand. If yours is not, put the mat on a couple of firm boards, or press standing and cut standing on the same surface so your body is not relearning the job every ten minutes.
Step 4: One firm pass, away from your body, against the ruler
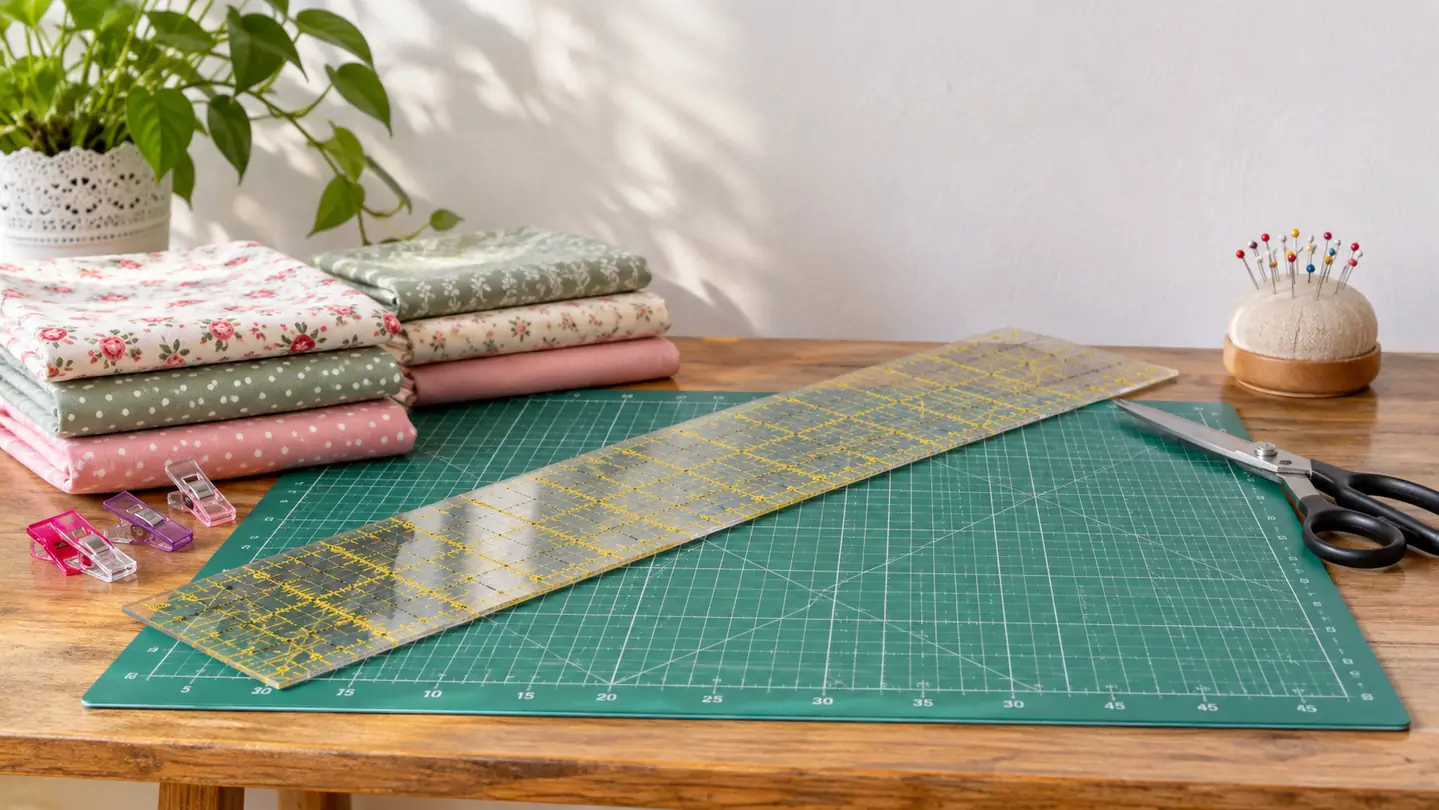
Set the ruler where you want the line, press it down hard with the flat of your hand, set the blade against the edge, and roll away from your body in one continuous pass. Do not saw back and forth. One pass, steady pressure, all the way past the far edge of the fabric. A second pass along the same line is how you get a fringe.
Two layers is the limit on slippery cloth. The mat will happily take more, but the fabric will not, and the layer underneath always shifts a little more than the layer on top. If you need eight pieces, cut two at a time and accept that it takes four times as long as cutting cotton. Nobody's sewing room was ever improved by rushing a lining.
When a cut goes wrong, look at the edge before you blame yourself. A fuzzy, chewed edge means a dull blade. A stair-step edge means you were rocking the cutter instead of rolling it, or the screw has worked loose. A curved edge against a straight ruler means the fabric was not held flat. Each one has a different fix, and none of them is pressing harder.
Step 5: Change the blade early and store the mat flat
The set comes with five extra 45mm blades in SKS-7 steel, and I go through them faster than I expect to. Change the blade when the cutter starts needing two passes on cotton, or when it pushes the fabric rather than slicing it. A dull blade on slippery cloth is a specific kind of misery. It drags, it lifts, and it leaves a slightly frayed edge that will not sit flat in a seam no matter how carefully you pin it.
The mat is self-healing, which means it closes up behind the blade, not that it is indestructible. Store it flat. Not leaning against a wall, not in a hot car, and not in a window where the inland California sun will bake it into a potato chip. Rotate which part of the mat you cut on so the grid does not wear through in one place, and keep the blade away from the printed numbers.
Wrap an old blade in a strip of masking tape before it goes in the bin. Blades have a long and unpleasant afterlife inside a rubbish bag.
Half the trouble people blame on slippery fabric is a blade that has already cut a hundred metres of cotton and quietly needs replacing.
What Else Helps
Pattern weights are the cheapest upgrade to this whole process. A stack of large metal washers from the hardware shop does the job as well as anything sold for sewing. So does a longer ruler than the one in the set. The 16 inch grid on the mat is generous, but a longer ruler lets you cut a full skirt panel in one go instead of three overlapping passes, and every extra pass is another chance for the cloth to move.
Run a lint roller over the mat between projects. Slippery fabric sheds fine fibres, and those fibres are what make the next cut drag. Keep a scrap of every new fabric and cut that first, so you learn how the particular cloth behaves before you commit the good yardage. And if you sew late into the evening, clean the mat before you go to bed rather than in the morning, because a clear mat is a kindness to yourself at any age.
One more habit worth building: cut the interfacing before the fashion fabric, using the same ruler setup and the same corner of the mat. Interfacing is stable and forgiving, so it makes a good warm-up, and it tells you whether your blade is still sharp before anything expensive is on the table.
Who This Setup Suits
If you sew clothes rather than quilts, this set is more than enough. You get the cutter, the five extra blades, the mat and the ruler in one box, and the mat earns its keep on every lining, crepe and cupro project that used to fight you. I still keep a good pair of shears for wool coating, denim and anything with a nap that wants the weight of a blade coming down through it. A rotary cutter is not a replacement for shears. It is the tool you reach for when the cloth is determined to move, and the difference on a slippery lining is the difference between cutting once and cutting twice.
Cut the lining once, not twice
If slippery fabric has beaten you before, the fix is a blade that rolls instead of lifting. The Honey's Heaven rotary cutter set gives you the cutter, five SKS-7 steel blades, an 18 by 12 inch self-healing mat and an acrylic ruler, which is everything on my table except the pattern weights.
Amazon Check Today's Price on Amazon →