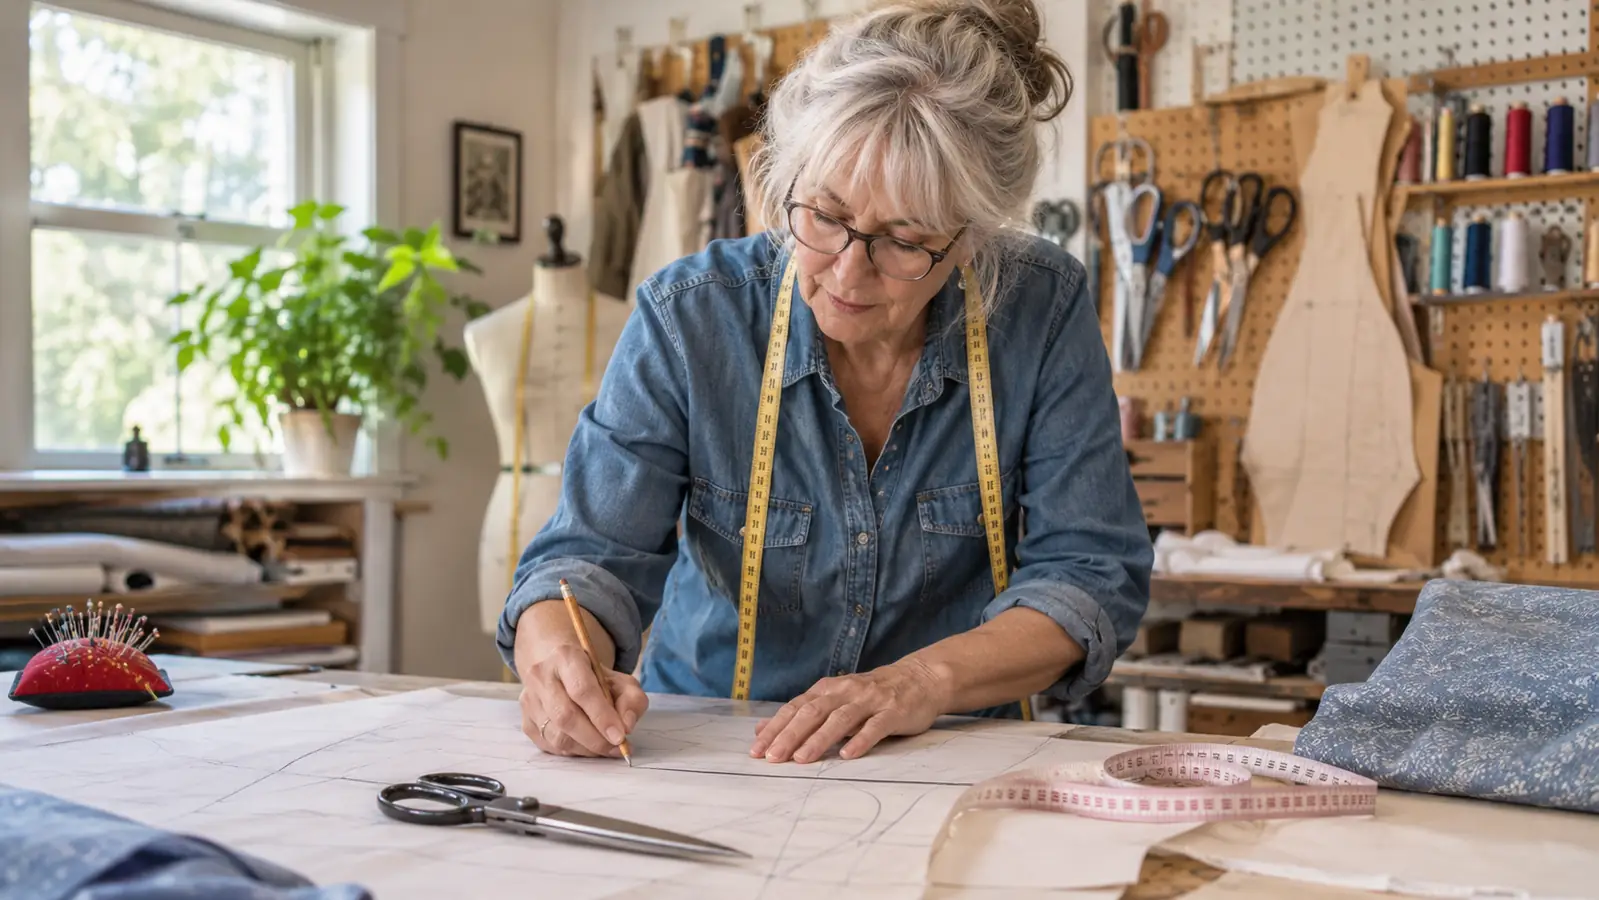
The neckline is the first thing anyone sees on a dress and the last thing most people who sew at home learn to draft properly. For years I drew mine with a straight yardstick, stood back, and wondered why the bodice looked like it had been cut out with a box. A straight line from the shoulder to the center front does not become a curve because you want it to. Fabric tells the truth about that every single time.
What fixes it is not talent. It is having the right radius in the right place at the right moment. I keep the HLZC six-piece set on the pegboard above my cutting table, and the 12 inch curve ruler from that kit is the piece my hand reaches for without looking. The markings are in inches and graduated in eighths, which matters more than it sounds like it should when you are marking a dark wool at seven in the evening. Here is how I draft a neckline with it, start to finish, the way I would show you at my own table if you pulled up a stool.
The curve that fits a neckline instead of fighting it
Six pieces, inch markings graduated in eighths, and a 12 inch curve that lands on all three of your anchor points at once. Mine hangs on the pegboard and comes down every week.
Amazon Check Today's Price on Amazon →Step 1: Mark the three anchor points before you draw a single curve
Every neckline is decided by three points, and none of them is the curve itself. The first is how wide the opening sits at the shoulder, measured from the center front line out to the side neck point. The second is how far it drops at center front. The third is where the shoulder seam crosses the slope of your shoulder, because a neckline that starts on a level shoulder will stand away from the body at the throat. Get those three right and the curve is nearly automatic. Get them wrong and no ruler on the market will rescue the draft.
I measure the neck width first, usually 2 1/2 to 3 inches out from center front for a standard round neckline, and mark it with a sharp pencil dot rather than a line. Then the depth at center front, which for a jewel neckline sits about 1/2 inch above the collarbone and for a scoop is wherever you want it, honestly. The measuring gauge from the HLZC set stays in my hand for this part. The distances are small, and a tape measure wants to curl and slide at exactly the wrong moment.
Decide whose body you are drafting for before you go any further. My daughter and my granddaughter are built nothing alike, one broad through the shoulder and one narrow, and the same block gives them two very different neck widths. I keep a small card in the pattern envelope with all three of our numbers written on it, mine included. It has saved me more redrafts than any tool on the wall.
Step 2: Square the frame with the 24 inch grading ruler
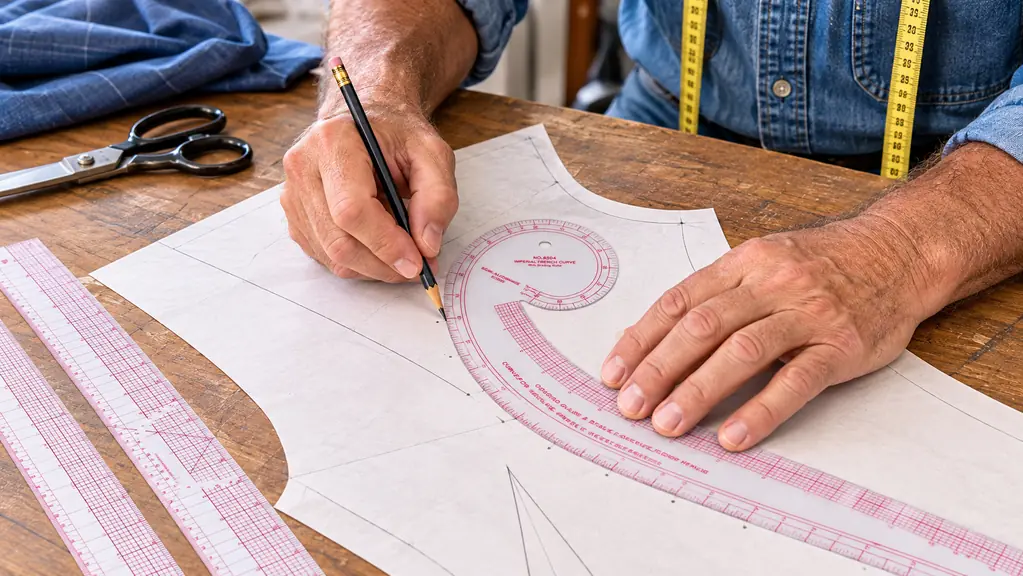
Before the curve goes in, the frame it sits inside has to be square. I draw the center front line, then the shoulder seam, then a light line across the bust so I have something to measure down from. The two 24 inch grading rulers in the HLZC set are what I use for this. They are long enough to draw a center front in one pass instead of three, and a line drawn in one pass is straight in a way a line drawn in three is not.
The shoulder seam is where most drafts go wrong. Shoulders slope, most of us drop somewhere between 1 and 1 1/2 inches across the width of the shoulder, and a pattern drawn on a level shoulder will lift at the neck. Mark the slope, then check it against a garment that already fits you rather than against the drawing in your head. The universal ruler in the kit handles the short straight edges around the shoulder point, where a 24 inch ruler is simply too long to be useful.
Square the corner at center front last. A neckline that meets the center front line at anything other than a right angle will pull when you sew the facing on, and you will feel it at your throat before you ever see it in the mirror.
Step 3: Lay the curve so it touches all three points at once
This is the part people get wrong, and it is not their fault. A French curve is not one curve. It is a whole family of them along a single edge, running from nearly flat to quite tight, and your job is to find the section that passes through all three of your dots. Lay the 12 inch curve ruler on the paper, slide it until the edge touches the shoulder point, the side neck point and the center front depth at the same time, then draw the whole neckline in one slow motion.
One motion matters more than a steady hand. When you draw a curve in four short strokes, you get four little flats where the strokes meet, and the fabric will show every one of them as a tiny facet along the neck edge. If the ruler will not sit on all three points at once, your anchor points are wrong, not the ruler. Go back to Step 1 before you start sanding the shape into submission with an eraser.
The 12 inch curve handles a front neckline comfortably and most back necklines too. For a wide scoop or a deep V on a coat, I switch to the 24 inch hip curve from the same set, because a longer, gentler curve drawn in one pass reads as a sweep instead of a bend. That is the whole difference between a neckline that looks drafted and one that looks improvised.
Step 4: True the curve and walk the seam
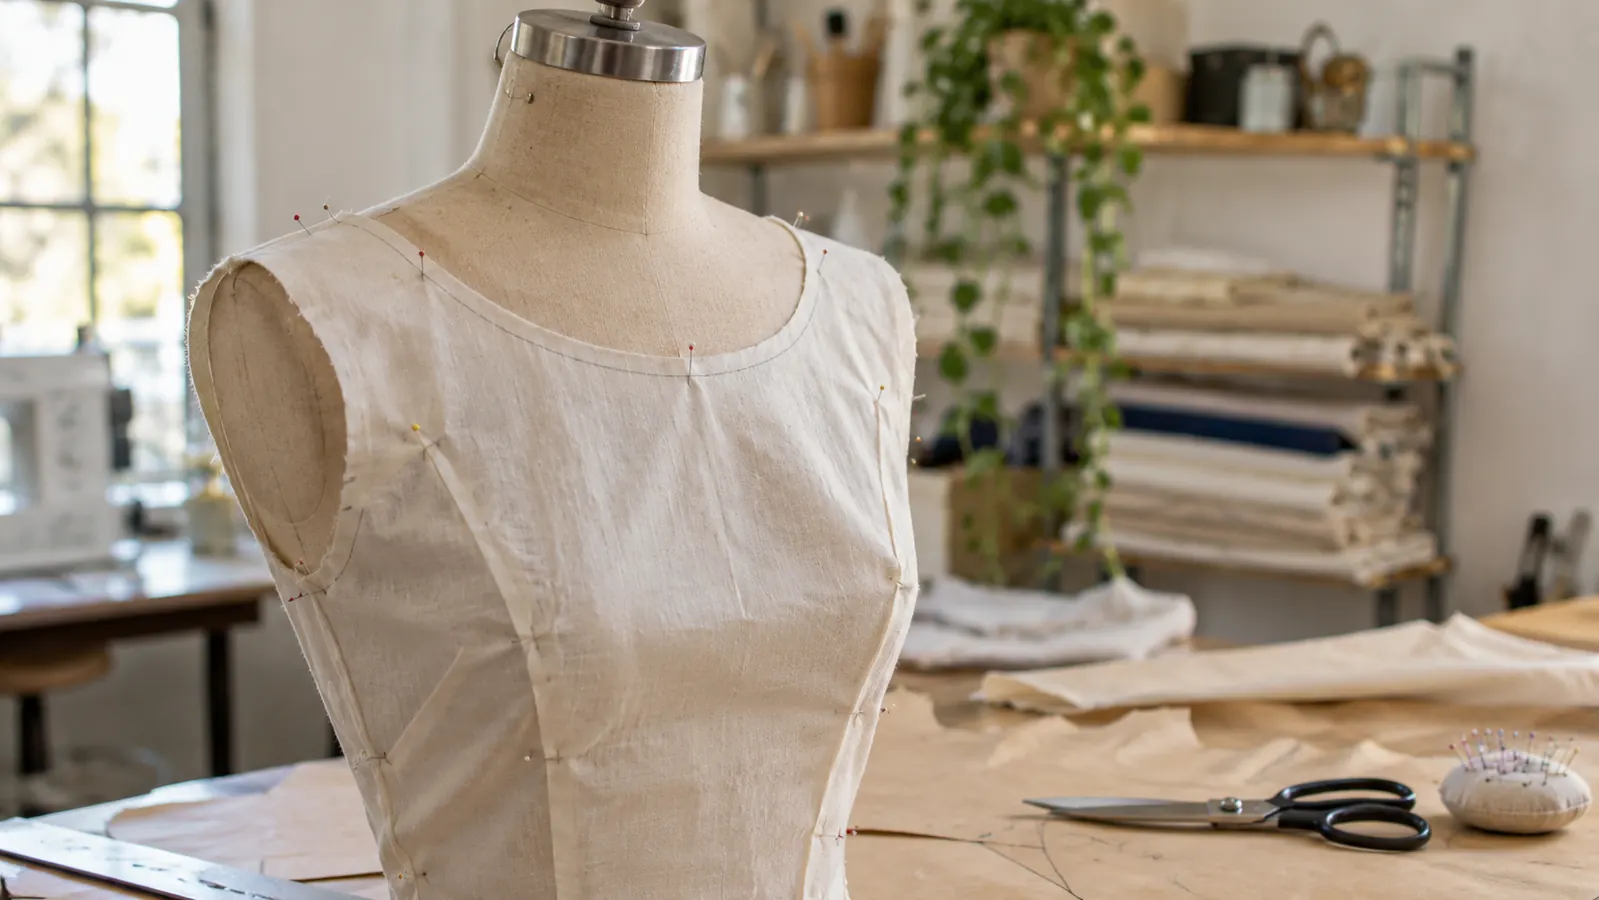
Trueing is the quiet step that separates a draft which sews up cleanly from one that fights you at the machine. Check that the neckline meets the shoulder seam at a right angle, because that corner is where a facing wants to pucker. Check that the curve has no flat spots where you lifted the pencil. Then hold the pattern up against a window and look at the silhouette, which is far easier on the eye than staring at it flat on the table.
Next, walk the seam. Stand a tape measure on its edge and run it along the neckline, then compare that number to the length of the facing or binding you plan to attach. If the neckline measures a quarter inch longer than the facing, that quarter inch turns into a ripple at the throat. It is a two minute check that has saved me an hour of unpicking more than once.
I also mark the shoulder point and the center front notch on the neckline itself before the pattern comes off the table. Those two marks are what I line up when I sew, and having them on the paper instead of in my head is the difference between a neckline that sits level and one that sits crooked and gets blamed on the fabric.
The 12 inch curve sat on all three of my points on the first try. That is the entire reason the collar went in flat.
Step 5: Add seam allowance, grade the size, and sew a muslin
Add your seam allowance last, after the shape is settled, using the measuring gauge to walk a consistent 5/8 inch around the neckline. Adding it first is how you end up with a neckline that gets a little wider every time you redraft, because the allowance drifts a sixteenth at a time and nobody notices until the third version.
If you are grading between sizes, say a smaller neck and a larger bust for my daughter, the 24 inch grading ruler earns its keep. It lets you move from one size line to the next with a straight edge that shows exactly where the new line crosses, instead of eyeballing a diagonal and hoping for the best. Grading by eye is how a pattern ends up with a kink at the bust line that no amount of pressing will remove.
Then sew it in muslin. Plain cotton, one shoulder seam, no facings, just pin the neckline on the body and look. Every adjustment I have ever made to a neckline came from those five minutes in front of the mirror, not from the drawing board. The HLZC set gets you a clean draft. The muslin tells you whether the draft is right for the person who has to wear it.
What Else Helps
Stay tape at the shoulder seam. A neckline that stretches while you sew it will not lie flat no matter how well you drafted it, and a strip of fusible stay tape along the shoulder line stops that before it starts. It costs you ninety seconds and one pressing cloth.
Press over a ham, not flat on the board. A curve pressed flat becomes a crease where the curve should be, and once that crease is in a wool or a linen you are not getting it out. The ham is the cheapest tool in the room and the one most often left in the drawer.
Keep a record of what you drafted. I draw a small diagram of every neckline on the back of the pattern envelope with the width and depth numbers written beside it. Two years from now, when my granddaughter wants the same dress in a different fabric, I will not be starting from a guess.
Test on the person, not on the dress form. My form is older than my daughter and shaped nothing like her. Five minutes with a pinned muslin and a hand mirror beats an hour of adjusting a form that will never quite be anybody.
Where the Set Falls Short
The plastic is light, and light rulers slide. On slick pattern paper or a cutting mat you will want a weight at one end, or a hand pressed flat, or the ruler will creep a quarter inch while you are drawing and you will only find out at the machine. It also flexes if you press hard, which is fine for a neckline and less fine for a long straight seam.
The set arrives without instructions, so the first hour is yours to figure out which piece does what. I labeled mine on the pegboard with a marker, which took two minutes and ended a year of picking up the wrong ruler. And if you draft a lot of coats, a 24 inch hip curve is still short for a wide coat neckline. You will want a longer curve for that job, and no six-piece kit changes it.
Draft the neckline once, then stop thinking about it
Six pieces that cover a neckline from the first anchor dot to the final seam allowance. Mine has lived on the pegboard for two years and still earns its hook every week.
Amazon Check Today's Price on Amazon →