

Knit fabric is forgiving right up until the moment it isn't. You sew a straight stitch down a jersey side seam, it looks respectable on the cutting table, and then you pull the garment over your head once and hear that small snapping sound of thread that has given up. The seam did not fail because you sewed it badly. It failed because a straight stitch has no stretch in it and the fabric does.
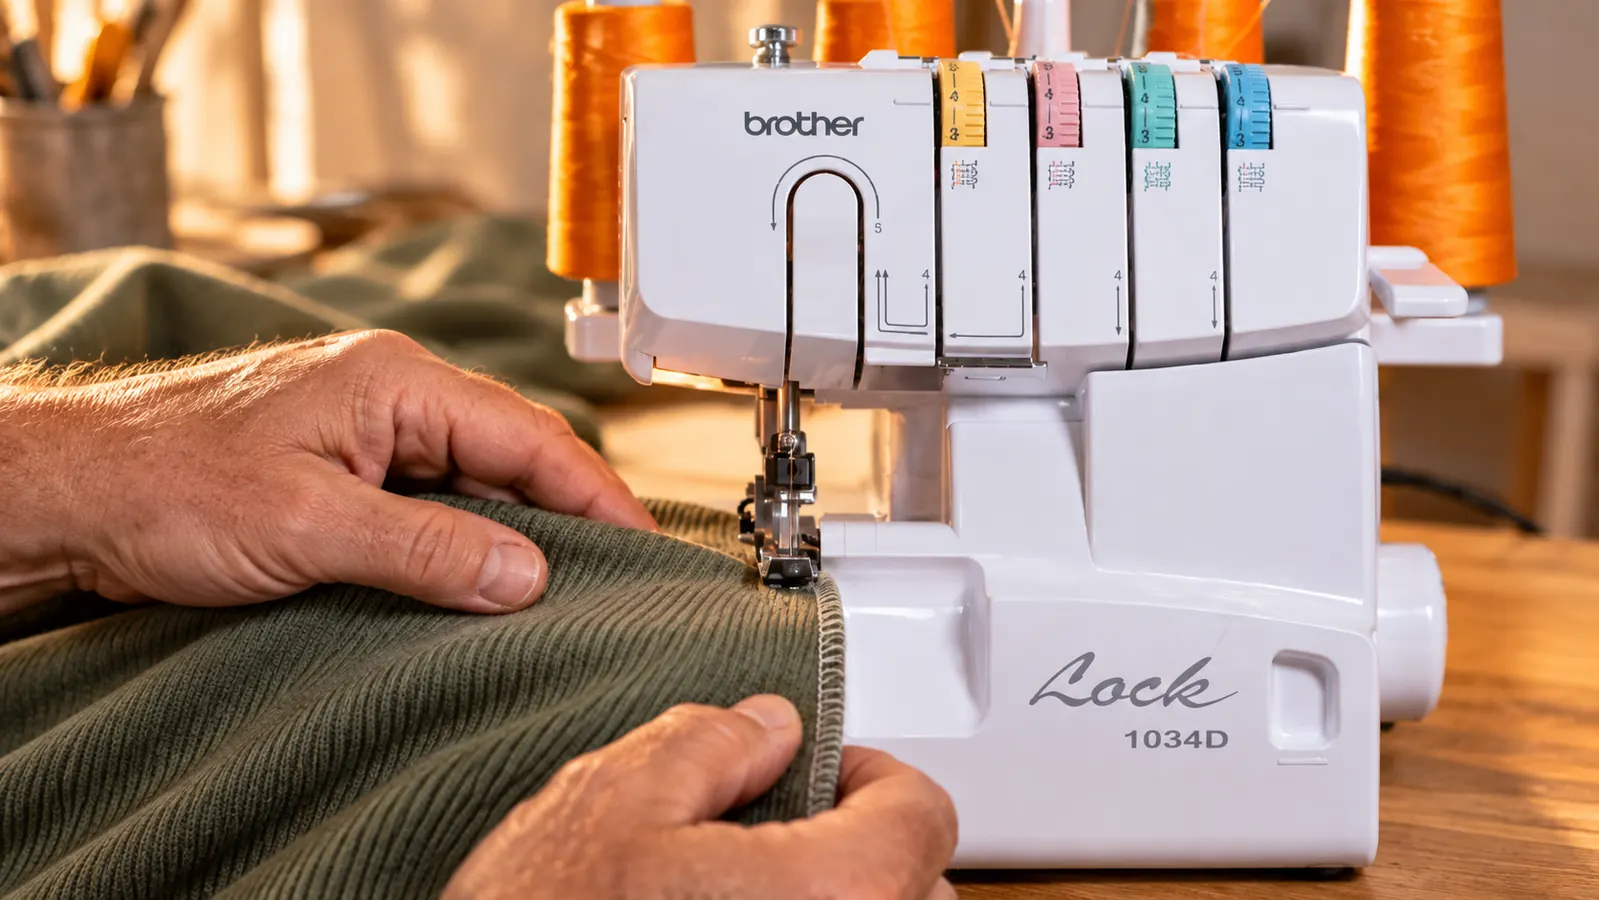
That is the problem a serger solves, and it is why the Brother 1034D has lived in home sewing rooms for years. Mine came into the house after a summer of remaking the same three knit tops for my daughter, each one splitting at the armhole within a month. The machine is a three or four thread overlock that runs up to 1,300 stitches per minute, and it trims, stitches and finishes an edge in a single pass. What follows is the order I actually work in, step by step, including the two places where I wasted the most fabric learning.
A seam that stretches with the fabric instead of fighting it
The Brother 1034D is a three or four thread overlock with color-coded upper and lower threading, a foot pedal for speed you control, and a metal frame that will take multiple layers of denim. Four spools of serger thread come in the box so you can start the same evening.
Amazon Check Today's Price on Amazon →Step 1: Thread it properly the first time, then leave it threaded
A serger is threaded in a set order and the order is not a suggestion. The Brother uses a color-coded upper thread guide and a color-coded lower looper path, which sounds like a small convenience until you have threaded a machine that does not have it. Follow the colors in sequence from the spools down through the guides and into the loopers. Do not skip ahead because one path looks obvious. It is obvious right up until the stitch comes out wrong.
Use the four spools of serger thread that come in the box for your first attempts. Not because the thread is remarkable, but because it is already the right weight and you will not spend your first evening blaming cone thread for a problem that is really a threading problem. A serger drinks thread, so cone thread is the sensible long term purchase. Learn on what you have.
If you are not certain the threading is right, cut the thread and start over. Tying on and pulling through works about three times out of four, and the fourth time you will spend an hour adjusting a machine that was simply threaded wrong from the beginning. It took me two evenings to get quick at it. Now it is a five minute job and I do not think about it at all.
You can run the machine as a three thread or a four thread serger. For knits I stay on four, because the extra thread covers the edge more fully and thin jersey curls less when it is wrapped properly. Three thread is lighter and faster and I use it for edges that will be turned under and never seen. Pick one setup, learn it, then experiment.
Step 2: Test on the actual fabric, every single time
Before you touch the garment, cut a strip of the same fabric, fold it the way the seam will be folded, and run it through. That is ninety seconds of your evening and it is the difference between a finished top and an hour with a seam ripper. Knit behaves differently from woven, and different knits behave differently from each other. Ponte is calm and obedient. Ribbing is not.
Look at three things on the test strip. The stitch should stretch when you pull the fabric sideways. The edge should be wrapped rather than curling away. The seam should lie flat when you press it. If the edge curls, the stitch is too tight for that fabric. If loops hang off the edge, one thread is not balanced and you go back to the threading before you go near the tension path again.
Write the settings on a slip of paper and keep it in the accessory bag with the needles. I have a small card that says rib knit, three thread, for the grey top, and it has saved me from solving the same problem twice. Knits are not consistent between bolts and your memory is worse than you think it is, mine included.
Test again every time you change fabric, even if the new one looks identical to the last. Two jersey bolts from the same shelf can behave like different species once the blade meets them. The test strip costs you a scrap. Skipping it costs you a garment.
The machine will sew a seam in eight seconds. The ninety seconds you spend testing first is what decides whether the garment ever gets worn.
Step 3: Sew the seam, watching the stitching line and not the edge
Here is the part that changes how you think about seam allowances. A serger trims the edge as it stitches, so the allowance you planned is not always the allowance you keep. If you allowed five eighths of an inch and the machine takes a quarter inch off the raw edge, that quarter inch is gone from your garment. On a loose knit top that is fine. On a fitted bodice it is not, and you find out at the try-on.
Mark the stitching line rather than the cutting line whenever fit matters. Then place the fabric so the needles drop just inside that mark and let the machine do the trimming. On a knit you generally want the overlock to wrap both raw edges together inside the garment, so the seam sits flat against the body rather than standing up.
Sew with the presser foot down and let the machine pull the fabric through at its own pace. The foot pedal gives you speed control, and slow is better at the start, especially around curves and armholes where a moment of inattention will cost you a notch out of the front. The machine will run up to 1,300 stitches per minute and you will not need that speed for a long while.
Do not pull the fabric from behind. It feels helpful and it stretches the seam out of shape, and then the garment hangs wrong in a way that is very hard to diagnose later. Guide it. Let the machine do the work.
Step 4: Press the seam and commit to a direction
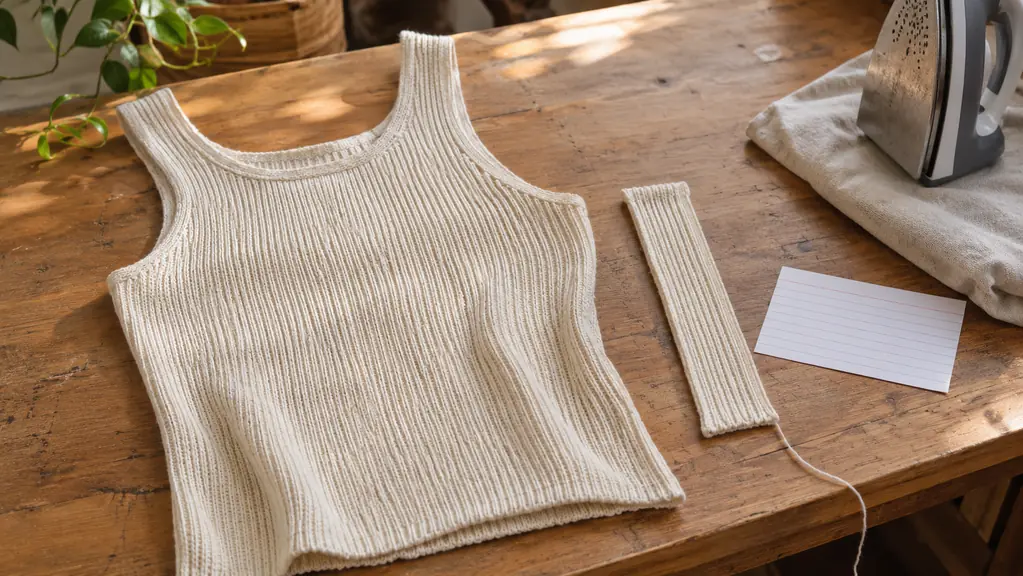
A serged seam is bulkier than a pressed open woven seam, so pressing is not optional and it is not a final step. Set the seam with the iron before you sew the next one. On the side seam of a knit top I press toward the back. On a shoulder seam I press toward the front. On a raglan sleeve I press toward the body. The point is not which direction. The point is that you pick one and hold it across the whole garment.
For thick seams, a sweatshirt shoulder or a ponte waistband, press the seam flat first and then open it with your fingers inside the tube. On heavy fabrics I trim one side of the seam allowance shorter to reduce the ridge. On thin ones I leave it alone, because trimming a thin knit just gives the edge somewhere new to curl.
What you are avoiding is the lumpy ridge that shows through a fitted garment and makes a home sewn piece look home sewn in the wrong way. Pressing is where the difference between finished and attempted gets decided, and it takes less time than the sewing does.
Keep the iron close and use it between steps rather than saving all the pressing for the end. A seam pressed while it is still warm from the machine sets better than one you come back to an hour later. This is not fussiness. It is the cheapest improvement available to you.
Step 5: Finish the hems and necklines
Hems on knits are where a serger earns its place and also where it can look wrong if you let it be the visible finish. A serged edge on a t shirt hem is normal and nobody will look twice. A serged edge showing on a dress hem is not normal, and people will look.
For a t shirt, run the raw hem edge through the serger, turn it up once, and stitch the fold on your regular machine with a stitch that stretches. The serged edge gives the fold something to sit on and stops the knit curling while you sew it. For a neckline, serge the raw edge, then turn and stitch, or bind it with a strip of the same knit cut across the grain so it has stretch.
Cuffs and bands are the exception where the serger does the entire job. Sew the band to the opening, serge the seam, and you are finished, because a band is meant to be read as a band. That is the fastest finish in my sewing room and the one I use most on my granddaughter's clothes, which get worn hard and washed harder.
What Else Helps
Needles matter more than most people expect. A dull serger needle will skip stitches on knit well before it complains on woven, and the symptom looks like a tension problem when it is not. Change it when the stitching goes irregular rather than waiting for a break. The accessory bag that comes with the machine has a needle in it, and the instruction manual gives you the size for your fabric.
Keep the machine covered between projects. The Brother comes with a soft cover and dust in the loopers is a genuine cause of skipped stitches, which is a frustrating thing to diagnose on a deadline. It weighs eight pounds and measures about eleven inches wide, ten inches deep and thirteen inches high, so it sits at the end of my cutting table and moves to the shelf when I need the full length. Light enough to move, heavy enough that it does not walk across the table while it runs.
The metal frame and interior components are why it handles multiple layers of denim without complaint, and that same stability is what makes it steady on thin jersey, which is where a flimsy machine shows itself. Clean the lint out of the loopers every few projects. Wipe the blade area. That is the whole maintenance routine and it takes five minutes.
The warranty runs five years on parts and ninety days on labor, which tells you what the manufacturer expects to go wrong, and it is not much. Register it when it arrives and keep the receipt somewhere you will find it again. I keep mine in the manual, which lives in the drawer under the cutting table where I will never look for it.
And keep your regular machine threaded and set up next to it. A serger cannot sew a buttonhole, insert a zip, stitch a dart or topstitch a hem. It is a complement rather than a replacement, and the sewing room that actually works has both machines ready so you are not swapping setups every twenty minutes.
One pass, eight pounds, and the seam stops snapping
The Brother 1034D trims, stitches and finishes a knit edge in a single pass, with color-coded threading to get you started and a foot pedal for speed you control. A soft cover and four spools of serger thread come in the box, and the warranty runs five years on parts.
Amazon Check Today's Price on Amazon →