The first bodice I fitted properly was a near miss. The pattern said size 14. My bust measured closer to a 16, my waist a 12, and the dress form in the corner agreed with the envelope instead of with me. I sewed it anyway, stood in front of the mirror, and spent forty minutes pinning out folds at the back that no amount of pressing was ever going to fix. I have fitted a great many bodices since then, for myself, my daughter and my granddaughter, and the lesson has not changed. A bodice is only as good as the shape you are fitting it on. The Dritz Sew You is the form I keep standing in my sewing room because it lets me change that shape instead of working around it.
What follows is the way I fit a bodice on an adjustable form, in the order I actually do it, with the mistakes included so you can skip them. None of it is difficult. Most of it is unglamorous measuring and pinning, done twice, and then a third time because the first two were wrong. But this is the work that separates a bodice that hangs from your shoulders properly from one you tug at all evening. The Dritz does its part well once you understand what it can and cannot do for you, and the limits are worth knowing before you start pinning.
Set the form before you cut. A muslin that fits saves you the dress.
The Dritz Sew You adjusts at 12 points across the chest, waist and back, and holds your shape steady while you pin. That is the whole job. Everything else in this article is what you do with it.
Amazon Check Today's Price on Amazon →Fitting a Bodice in Five Steps
Step 1: Measure honestly and set the form to your numbers, not your hopes
You need five numbers before anything else: bust at the fullest point, waist at the narrowest, hip at the fullest, shoulder to floor, and back neck to waist. Write them in pencil, because they move with the season and the decade. Take them over the underwear you plan to wear under the dress, and if you can, have someone else run the tape for the back measurements. Reaching around to find your own back neck point is how a careful woman ends up an inch out before she has cut anything. My own numbers, taken this spring, read 41 at the bust, 33 at the waist, 43 at the hip, 60 shoulder to floor and a touch over 16 from back neck to waist. My daughter is a full size apart from me through the middle, and my granddaughter is still growing into hers, which is why the tape lives on a hook by the cutting table and gets used more often than the good scissors.
Set the height first. The Dritz has a height-adjustable center pole, and the measurement to match is shoulder to floor, not your total height. A form set tall puts every waistline high, and then you spend the rest of the project chasing a fit problem that does not exist on your actual body. Get the pole right and the bust line, waistline and hip line on the form land roughly where yours do.
Then the circumference. The form carries 12 multi-point body adjustments: nine smooth-rolling wheels down the sides and back, and two auto-set dials at the front with clearly marked measurements. Turn them in small steps and check your work with the same tape you measured yourself with, because the markings on a form and the numbers a tape gives you are not always having the same conversation. This size covers US 12 to 18, a chest to 46 inches and a waist to 40, which is honest room for most home dressmakers and not enough for every one of us. If you fall outside that, you pad, which is the next step anyway.
Step 2: Pad the form until it is you, not until it is symmetrical
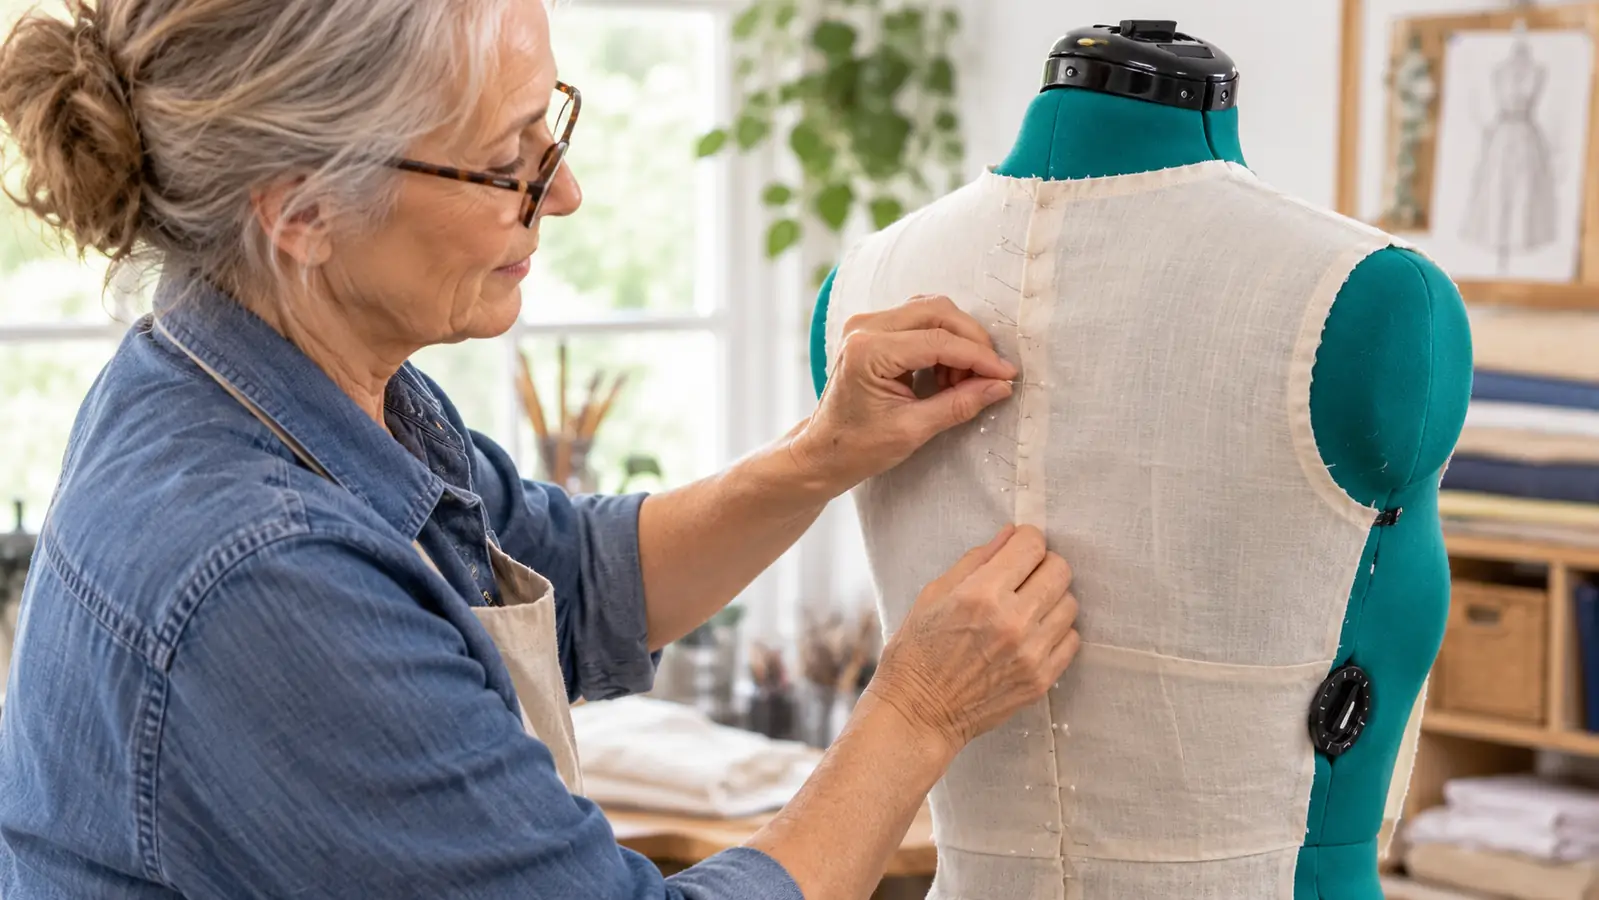
A dress form is symmetrical. Almost nobody else is. One shoulder sits lower, one hip rides higher, and the bust is not a matched pair of anything. Before I pin a pattern piece to the form, I pad it into my own shape: the bra I will wear under the dress, quilt batting where the form is shallow across the chest, a shoulder pad on the low side, a folded hand towel pinned at one hip. Measure after each addition.
I learned this one on my granddaughter. She was fourteen and had one shoulder an inch and a half lower than the other, and the first bodice I made her hung crooked at the neckline no matter how I pinned it. I blamed the pattern, redrew the front three times, and got nowhere. Two layers of quilt batting taped to the low side of the form fixed it in about four minutes. She wore that dress to a school dance and did not touch the neckline once all evening, which is the highest praise a fitted bodice ever gets.
This is the step people skip, and then the pattern takes the blame. If the form is flatter through the chest than you are, a bodice will look correct on it and pull across the bust on you. Padding is not a workaround. It is the reason an adjustable form earns its floor space at all, and it is why I would rather have a padded adjustable form than a handsome fixed dummy in a size that is nearly mine.
One caution: pad with something that will not compress. Batting and felt hold their shape. A folded jumper does not, and you will discover halfway through pinning that your careful fit has quietly shrunk.
Step 3: Sew the muslin and mark it like you mean it
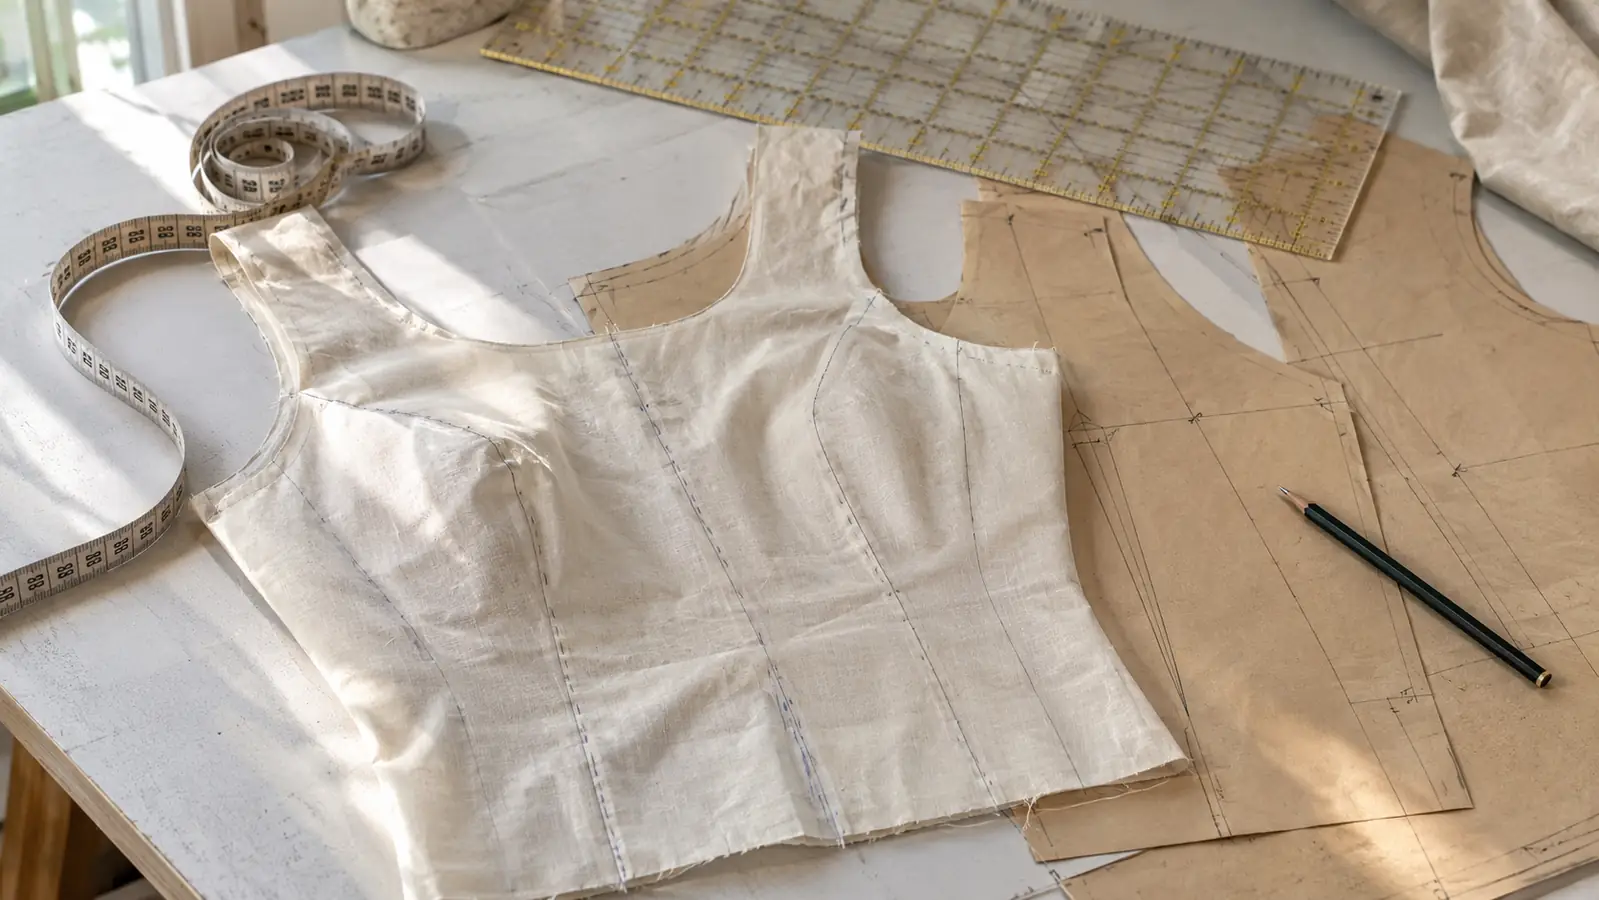
Cut the bodice in a firm cotton muslin with generous seam allowances, an inch at the sides, and sew it on a long machine stitch so it comes apart easily. If the pattern has darts, stitch them. Do not skip the darts to save time, because the dart is usually where the trouble is.
I cut the last one on a Tuesday morning with the window open and gave myself the whole morning for it, because rushing this step has cost me more fabric than any other mistake I make. An inch at the side seams, five eighths at the shoulders, and a stitch length of four so the seams pull apart with a seam ripper instead of a fight. I keep a dedicated spool of cheap grey thread for muslins so I never have to think about matching anything.
Mark center front, center back, the waistline and the bust point with thread, not chalk. Chalk rubs away the moment you start pinning, and a bodice with no center line is a bodice you cannot trust yourself to fit straight. A row of tailor's tacks or a running stitch in a contrast thread takes ten minutes and it stays put through three fittings.
Do not fit the fashion fabric. A muslin at roughly the weight of your final cloth costs you two hours and saves you the garment. If the fabric is slippery, make the cotton muslin first, correct the paper, then cut one test in the real stuff before you commit to the good length.
A dress form will agree with a wrong measurement all day long. It is not there to be right. It is there to hold still while you work out what is.
Step 4: Pin-fit on the form, then check it on your own body
Put the muslin on the form over the padded shape and pin the back closed along the center back line. Start at the shoulder and work down, smoothing the fabric with the flat of your hand before you pin anything at all. Pin parallel to the seam you are changing and close to the stitching line, then stand back every few pins. A fit looks different from three feet away than it does from six inches.
Take out the excess where it actually is. Most of us take it out at the side seam because the side seam is easy, and then wonder why the bodice still swings forward at the neckline. If the fabric pools at the small of the back, the problem is back length, not width. If it lifts at the front waist, the bodice is too short through the torso and no amount of side seam will fix it. The form holds the shape. You do the diagnosing.
The last bodice I fitted had a soft fold across the upper chest that I blamed on the side seams for two full fittings. I took the sides in, then let them out again, and the fold sat there through both, smug about it. It was the shoulder slope. A half inch wedge out of the shoulder seam, front and back, and the fold vanished. A ruler and a pencil would have found it in five minutes. I had decided in advance that it was width, and so it was width for two afternoons.
Then take the muslin off the form and put it on yourself, over the same bra, and look at it in a mirror with your arms down and then raised. The form can tell you where the fabric is bagging. Only your own body can tell you whether you can drive a car, reach a top shelf and sit through dinner in the thing. If the two fittings disagree, believe your body.
Step 5: True the pattern and write down what you changed
Take the muslin apart, press it flat, and lay the pieces on the paper pattern. Transfer every change with a ruler, not by eye. Walk the seams afterwards: the armscye against the sleeve, the side seam front against the side seam back, the bodice against the skirt if there is one. Half of all problems at this stage are two seams that no longer measure the same.
Trace the corrected pattern onto fresh paper and put the original away. Keep the muslin if the change was complicated. A labelled muslin in a bag with the pattern is worth more than your memory of what you did in March, and it will save you the same two hours next year.
One more thing. Write the date and your measurements on the pattern envelope. Bodies change and patterns do not, and a note in your own handwriting from three years ago is the most useful item in the envelope.
What Else Helps
Good light and a full-length mirror will do more for a fitting than any gadget. So will a tape that does not stretch, a box of fine silk pins that slide through cotton without leaving holes, and a tailor's ham for pressing the curves you have just sewn. Press as you go. A seam that has not been pressed will lie to you about the fit, every time.
A second pair of eyes is worth more than all of it. Most of what goes wrong on a bodice happens at the back, and no one has ever seen their own back properly, in a mirror or otherwise. My daughter pins my center back and I pin hers. If you sew alone, pin the back on the form, then check it by feel and by photograph, which is a cruder method and still a great deal better than guessing.
And know the limit of the thing. A form stands perfectly still, never breathes, and does not sit down. The Dritz is a helper, ten pounds of metal and plastic on a pole, and it does not replace a living body inside the garment. Use it to get close, then finish the job on yourself.
The form does the holding. You do the deciding.
Set it to your numbers, pad it to your shape, and pin the muslin until it stops arguing with you. The Dritz Sew You is built for exactly that: twelve adjustment points and a center pole that puts your shoulder height where it belongs.
Amazon Check Today's Price on Amazon →